Niña
​nin-ya
  • About Me
    • Contact Me
    • Tourettes
    • Geeeetar Playin'
  • My Life
  • Travel Bug-a-boo
  • Fave Recipes
    • Photo Gallery
  • Picture the Taste
  • Bright Ideas
  • Reviews
  • About Me
    • Contact Me
    • Tourettes
    • Geeeetar Playin'
  • My Life
  • Travel Bug-a-boo
  • Fave Recipes
    • Photo Gallery
  • Picture the Taste
  • Bright Ideas
  • Reviews
Niña
​nin-ya

NIÑA ​ANINIAS

SHOP. COOK. EAT.
REPEAT.

Ultra Easy Appetizer Tray

11/5/2010

0 Comments

 
FV30-03-1110

This is a good appetizer tray for entertaining. It doesn't need tons of preparing, very ideal if you're already spending a bit of time in your main course

Tip 1: Buy your meat slices the night before
Tip 2: Buy ready sliced or minced onion if it's available but make sure to use these within 2 days
Tip 3: Jam can be made the night before
Tip 4: Have at least couple of baguettes or baby french sticks in your freezer, ready for later use.

Ingredients:
Mushroom and Bacon Jam (recipe on site)
slices of prosciutto
brine-cured green and black olives
cucumber, sliced
sun-dried tomatoes
Garlic Bruschettas (recipe on site)
Mushroom and Spinach Frittata (recipe on site)

Serves 4

This takes a jif to make


On your serving tray, place your brushcetta, slices of prosciutto, brine-cured green and black olives, slices of cucumbers, sun-dried tomatoes, a serving bowl of mushroom and bacon jam in the middle. You can add ready made green pesto and bread sticks on the serving plate if you wish or have serviette's ready with funky toothpicks.

Appetizing it is!

(photos will follow when I re-do this)
Enjoyed this recipe? Subscribe to Fave Recipes for updates!
Enter your email address:

Delivered by FeedBurner

0 Comments

Garlic Bruschettas

11/5/2010

0 Comments

 
FV29-02-1110

This is a perfect partner to mushroom and bacon jam, pesto, slice meat, almost everything! Also great as an accompaniment to pastas.

INGREDIENTS
baby - french bread sticks or baguette
3 ounce butter
2 clove garlic

Serves 4
309 Calories per Serving


15 minutes, not another minute long

Preheat oven to 150 degrees celcius.

Cut frozen bread to thin slices 1/2 to 3/4 inch width.

Melt butter with crushed garlic over low heat, or microwave. Brush both sides of the bread with butter using a pastry brush.

Place on a baking tray, preferably pizza tray with holes.

Bake for 7-10 minutes until just golden, keep an eye because it burns quickly

Enjoyed this recipe? Subscribe to Fave Recipes for updates!
Enter your email address:

Delivered by FeedBurner

0 Comments

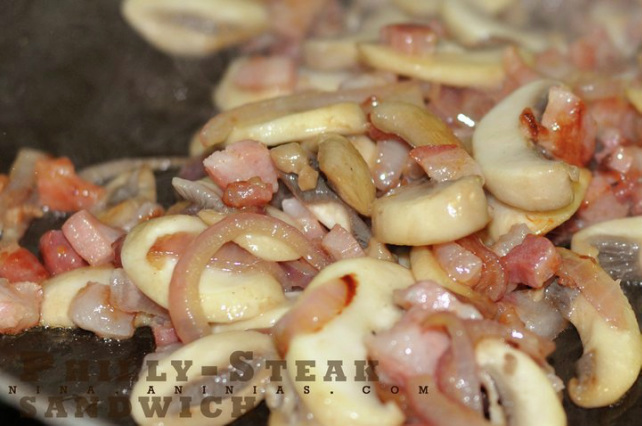
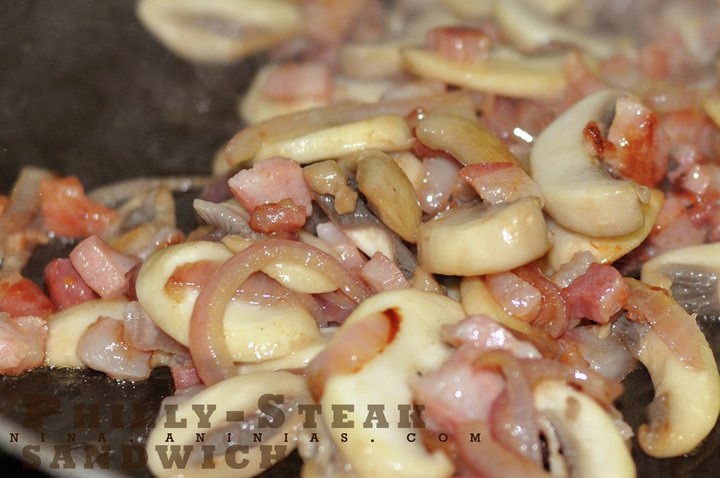
Mushroom and Bacon Jam

11/5/2010

0 Comments

 
Picture
FV28-01-1110

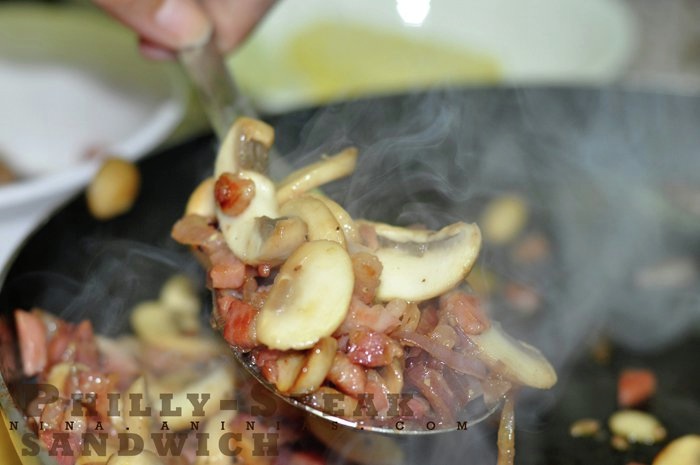
This is one easy concoction that is absolutely fantastic with a toasted bread or bread stick or garlic bruschetta. Great for appetizer that doesn't need so much prepping.

Tip 1: If you like pancetta instead of bacon, your choice.
Tip 2: Important part of my Philly Steak Sandwich

Ingredients:
8 good quality streaky bacon, diced
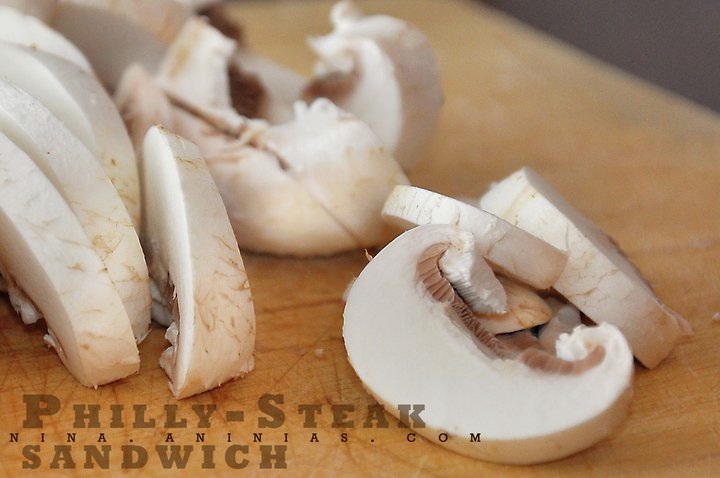
2 punnets of mixed mushroom (i.e. oyster, portabello, button mushroom
3 ounce butter
1 small red onion, chopped
1 clove garlic, minced

Heat 1 ounce butter into the pan and sweat onions and garlic for a few minutes.

Add the bacon and cook for a few more minutes then add the mushrooms together with the remaining butter.

Season, turn the heat right down and cook for 10-15 minutes. If the mixture starts getting dry, add a little lemon juice.

Serves 4
375 Calories per serving

*More photos will be posted when I remember to take pictures of it! Excuse my senile moments
Enjoyed this post? Subscribe to Fave Recipes for updates!
Enter your email address:

Delivered by FeedBurner

0 Comments

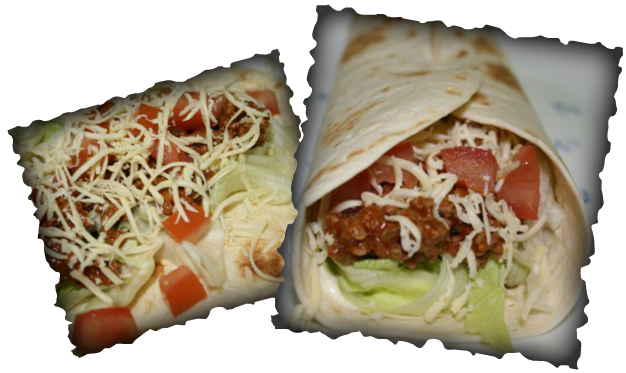
Mega Cheat Burritos (Ala Fajita way)

9/21/2010

1 Comment

 
Picture
FV13-11-0910

I call this mega cheat burritos because everything is already been pre-packed for you. Well, majority of the stuffing anyways.

No tips because this is sooooo easy.

I did this in a jif!

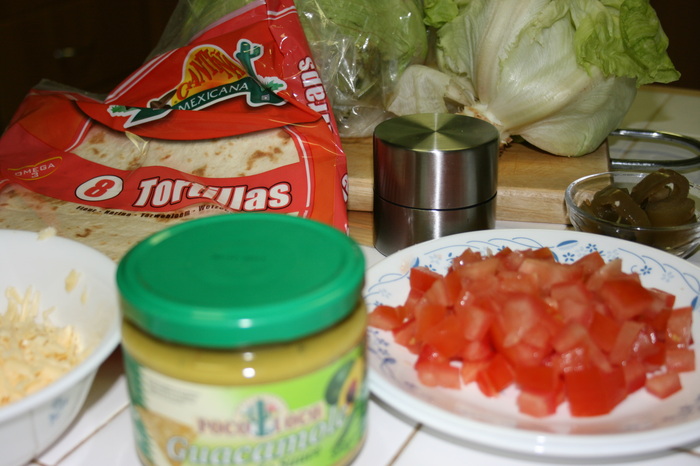
Ingredients:
8-piece pack of Flour Tortillas
Burrito Mix
500 grams minced beef
100 ml water
I cup shredded iceberg Lettuce
1/2 cup chopped deseeded tomatoes
1/4 cup Jalapenos
Dollop of Sour Cream
Dollop Guacamole
1 cup grated cheddar cheese

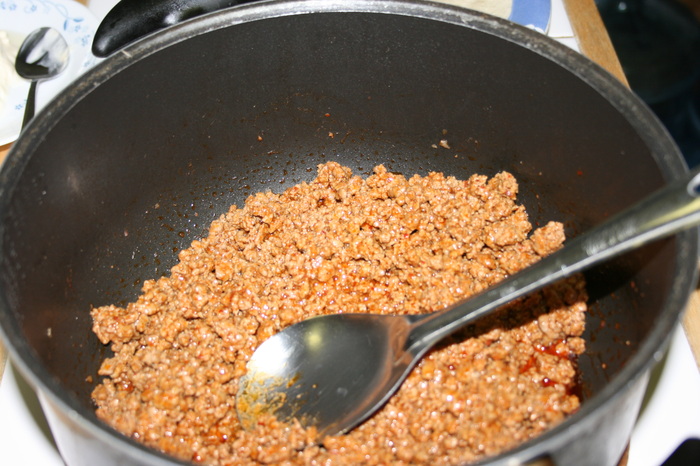
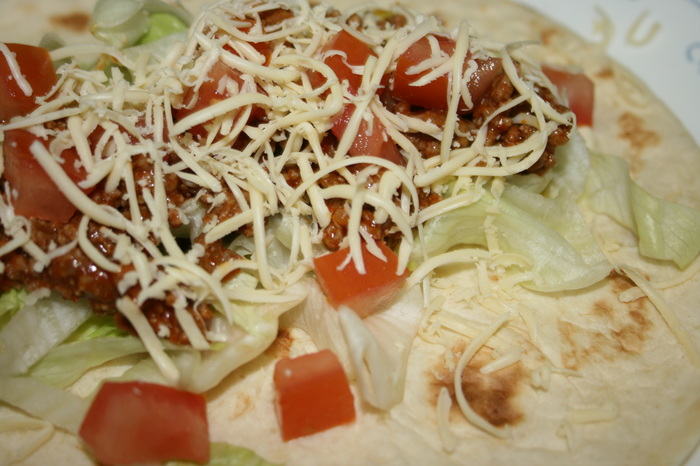
Brown the minced beef. Mix Burrito powder with 100 ml water. Pour the mixture to the beef.

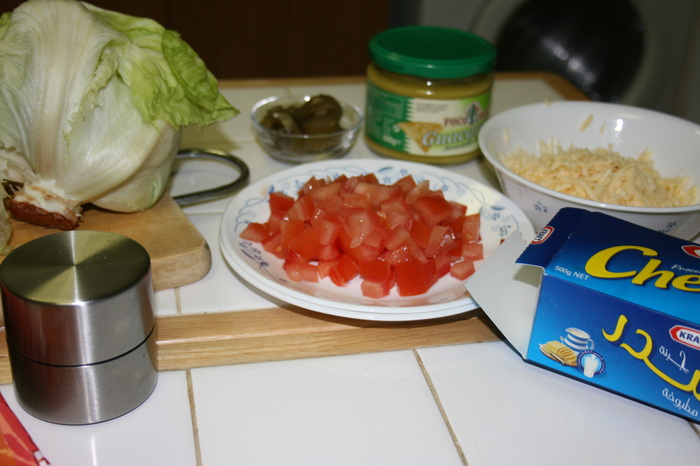
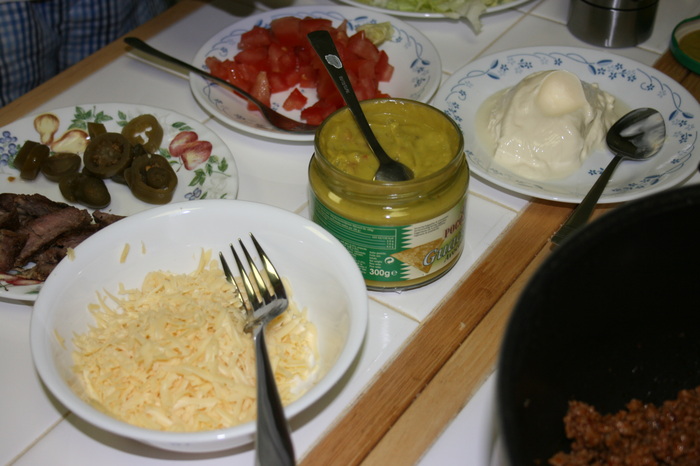
Shred Lettuce. Chop tomato. Put guacamole, sour cream, cheddar chhese and jalapenos onto separate bowls.

Warm the tortilla bread in the microwave for 10 seconds. Serve your seasoned beef next to filling choices and let your guests pick and choose.

Yes it's burritos and it should be as boring as one... BUT I refuse to conform,,, so eat burrito the fajita way! Try and you'll thank me for it!

Acoustic Chef, cookin’one tune at a time!
Enjoyed this post? Don’t miss out on Fave Recipes page updates

Enter your email address:

Delivered by FeedBurner

1 Comment

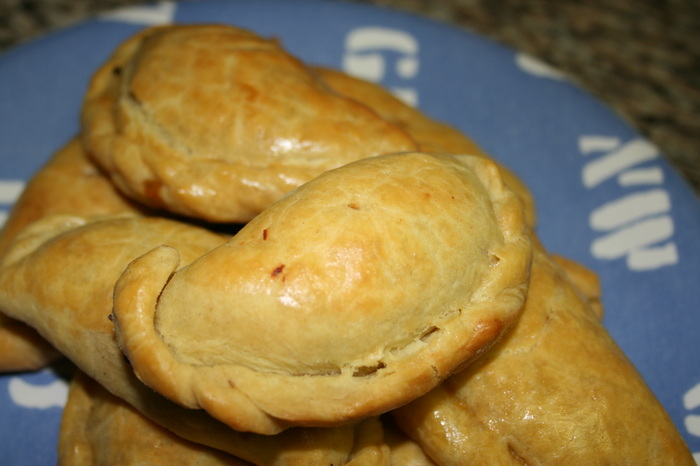
Authentic Spanish Empañadas

9/21/2010

0 Comments

 
Picture
FV12-10-0910

Original Recipe:
Gourmet | October 2004 & January 2005

Baking Empañada is like... baking lasagna for me... scary idea but I have to try...

While searching for a recipe, I found out that what we have back home is not the authentic Empañada, like everything else, it was modified through the years to suit our palate. It make sense, we have to adapt so it's not going to be so tedious for housewives to create. Moreso, we're not as globalized as we are today, malls weren't available and imported ingredients were,,, well... not that common.

Okay, it was my twin sister who made that analysis,,, she's boring. So now, this recipe is amazing.... and the result.... Oh... My... Gosh, Heaven!!! Okay, maybe not so much as heaven, if my mom reads this she'll be giving me a lecture on blasphemy... you get my drift though, right?

Tip 1: You can use whichever chicken part you prefer, though the ones closest to the bone are tastier
Tip 2: You can make the dough in advance, freeze it up to one week. Thaw it for few hours in the fridge, then bring it to room temperature before using it.
Tip 3: You can make the fillings 2 days in advance. Again, bring it to room temperature before using it.
Tip 4: Because this dough is soooo amazing, you can play with it. You can choose whatever filling you want. I think as simple as hotdog and cheese to as complex as fruit preserves.
Tip 5: If you can't find the linked chorizo, just the tapa-sliced-type will do, just follow the weight

Dough Ingredients
4 1/2 cups unbleached all-purpose flour
3 teaspoons salt
2 stick (1/2 cup) cold unsalted butter, cut into 1/2-inch cubes
2 large eggs + 1 for brushing crust
2/3 cup ice water
2 tablespoons distilled white vinegar

Filling Ingredients:
3 whole chicken legs, including thighs (2 to 2 1/4 pounds total)
1 teaspoon salt
1/4 teaspoon black pepper
4 1/2 tablespoons extra-virgin olive oil
2 large onions, halved lengthwise, then cut lengthwise into 1/4-inch-wide strips
2 large garlic cloves, minced
2 Turkish bay leaves or 1 California
1/3 cup finely diced Spanish chorizo (cured spiced pork sausage; 1 1/2 oz; casings discarded if desired)
1/2 teaspoon Spanish smoked paprika (not hot)
1/4 cup chopped pitted green olives
1/4 cup golden raisins
1/2 cup dry white wine
1/2 cup reduced-sodium chicken broth (1 Knorr chicken cube will do)

Serves 24

This took me 3.5 hours active time, yes that might be 2 or less hours for you.

To make the dough
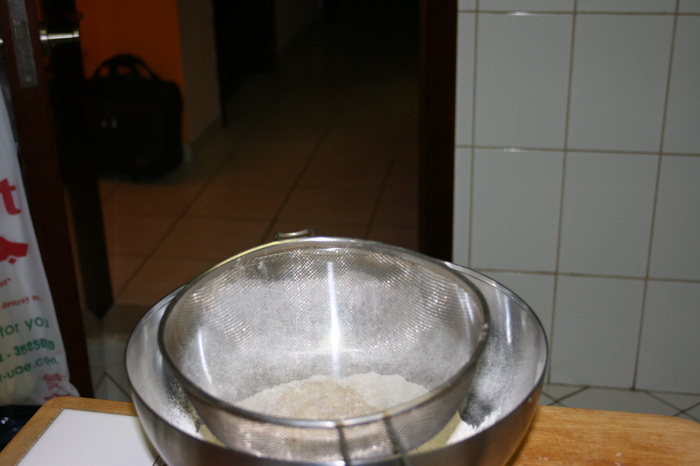
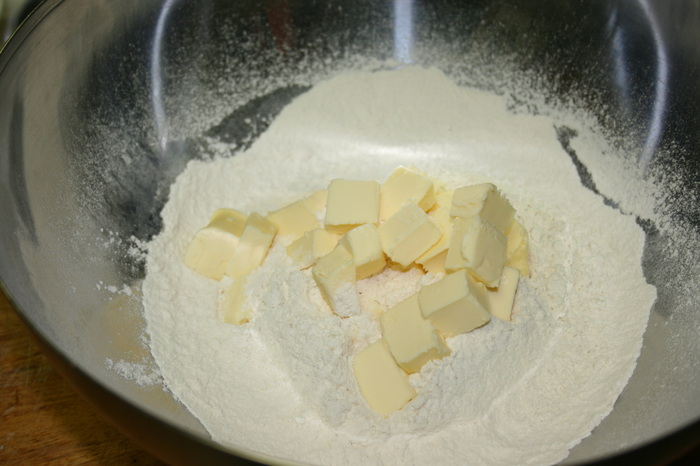
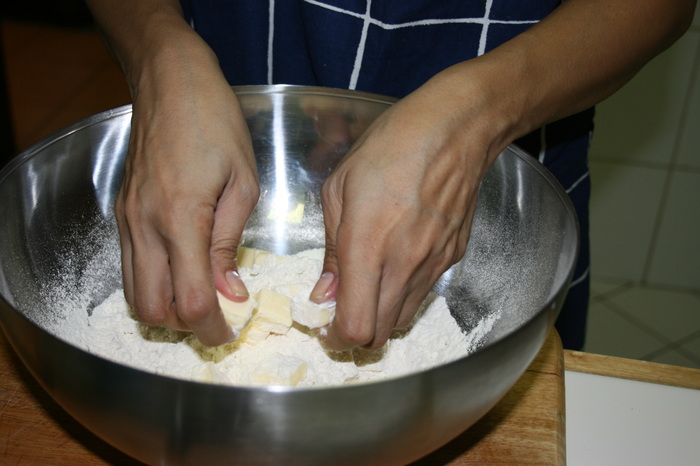
Sift flour with salt into a large bowl and blend in butter with your fingertips or a pastry blender until mixture resembles coarse meal with some (roughly pea-size) butter lumps.

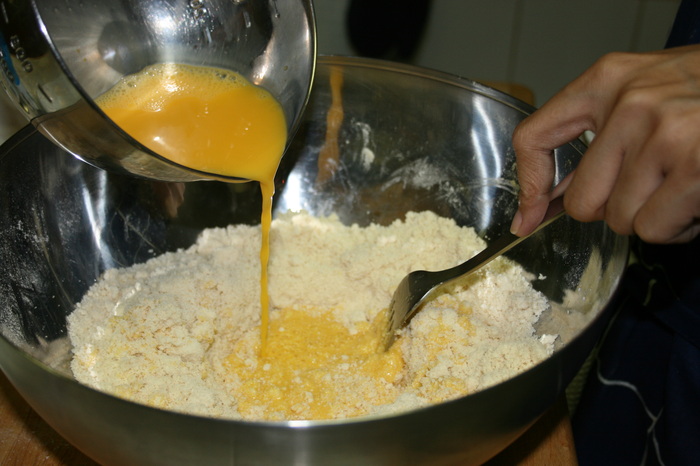
Beat together egg, water, and vinegar in a small bowl with a fork. Add to flour mixture, stirring with fork until just incorporated. (Mixture will look shaggy.)

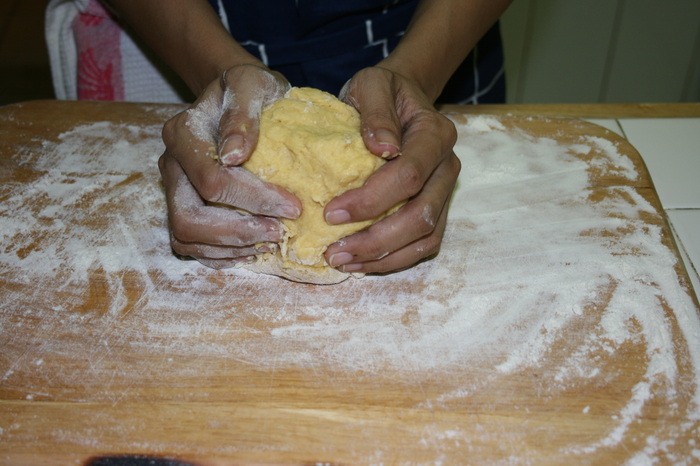
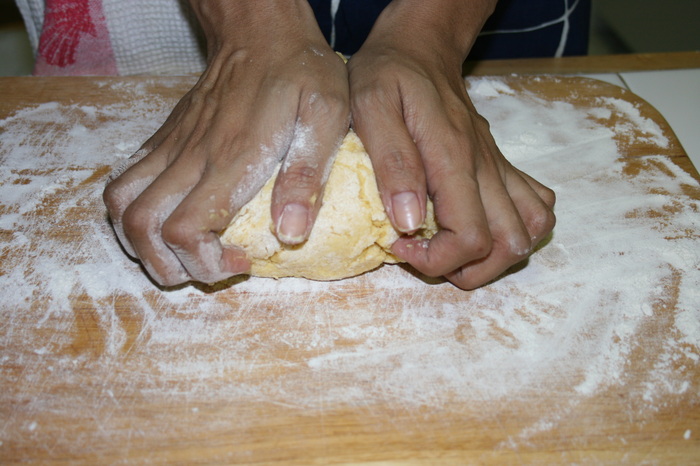
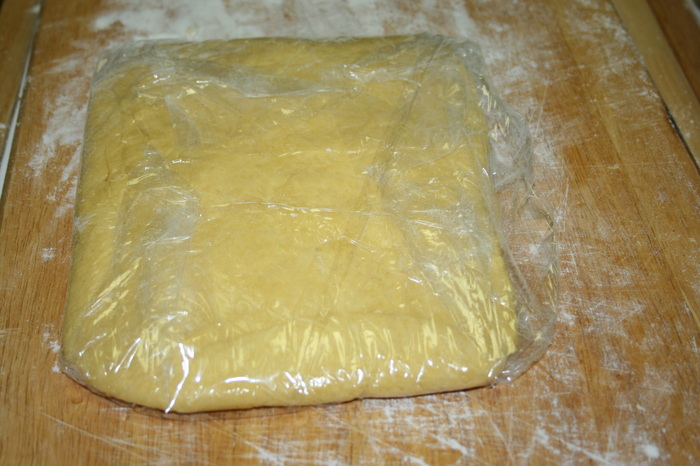
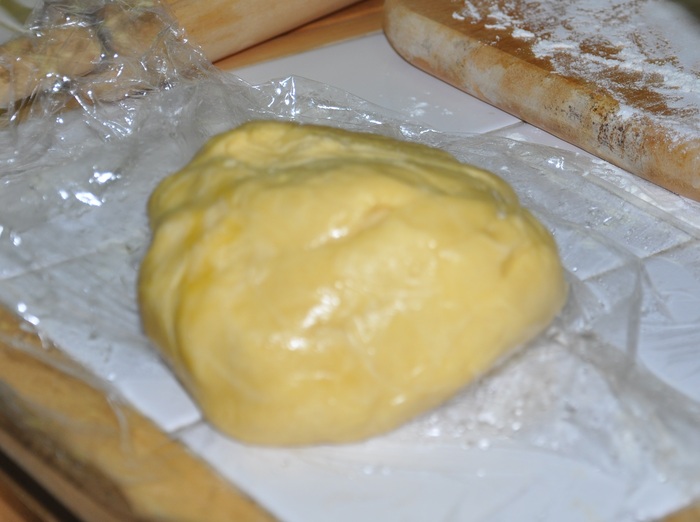
Turn out mixture onto a lightly floured surface and gather together, then knead gently with heel of your hand once or twice, just enough to bring dough together. Form dough into a flat rectangle and chill, wrapped in plastic wrap, at least 1 hour.

To make the filling
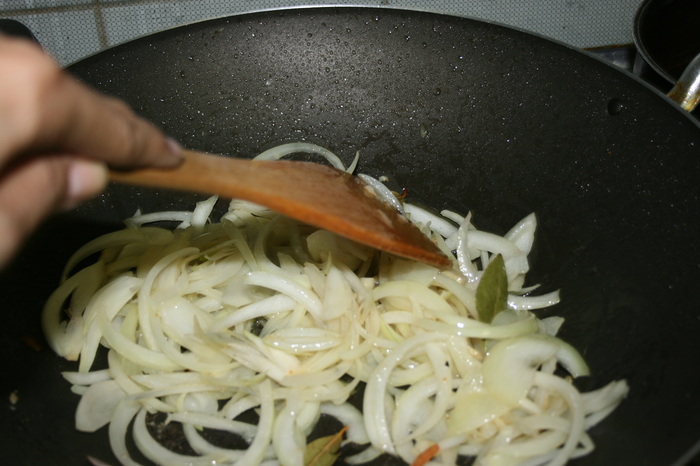
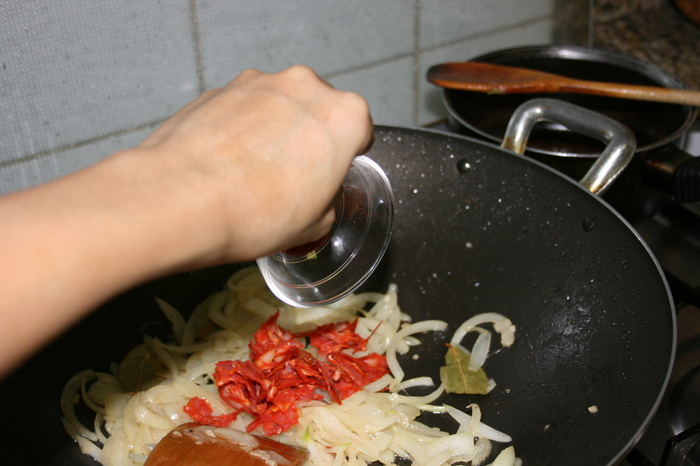
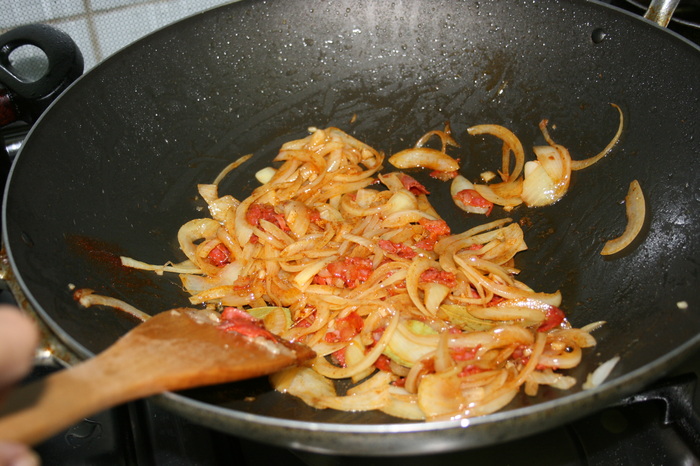
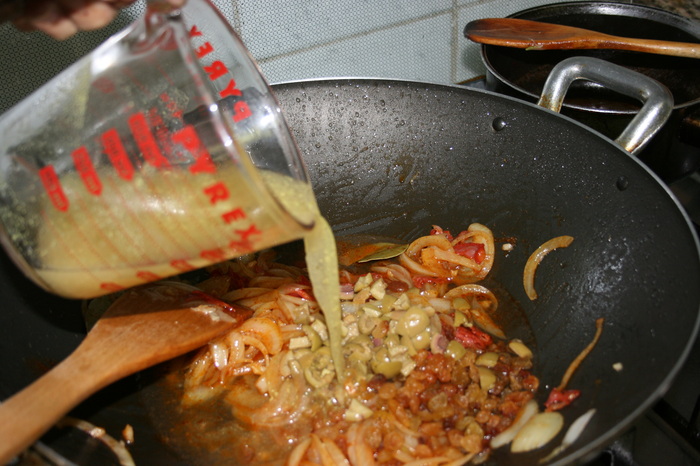
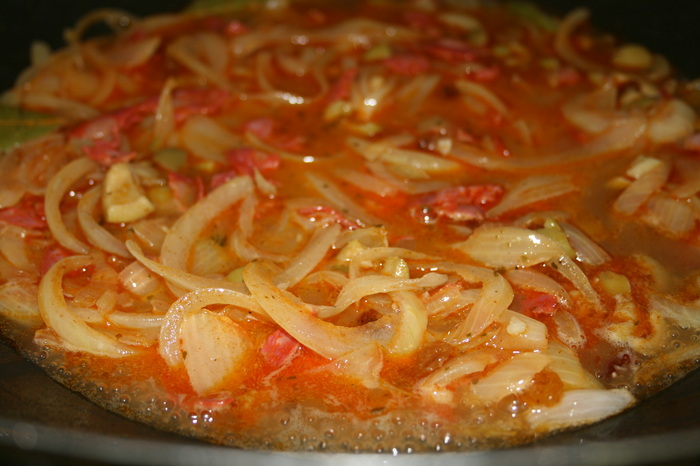
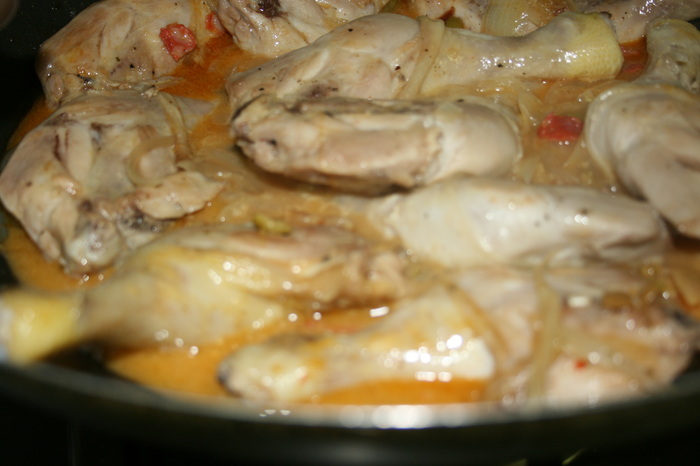
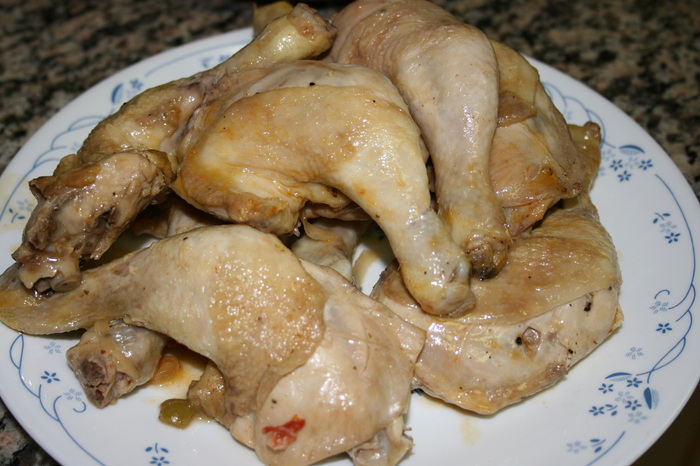
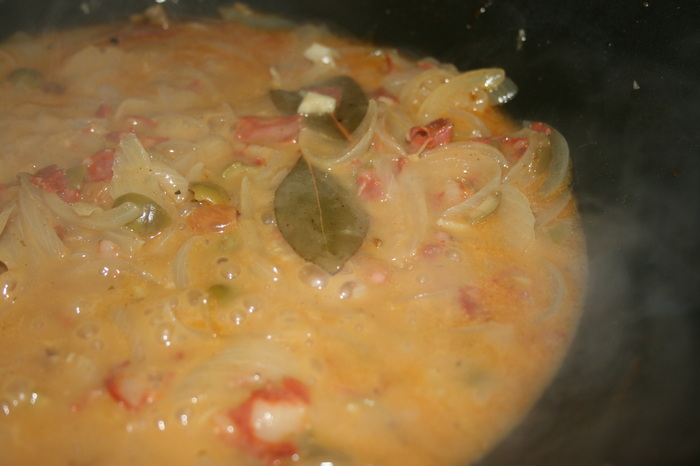
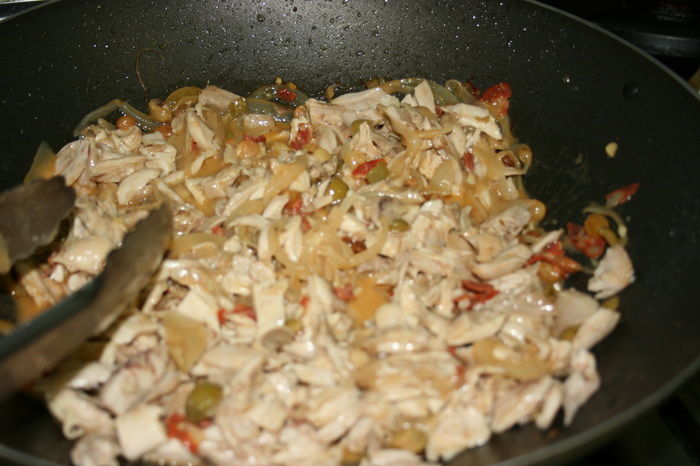
Pat chicken dry and sprinkle with salt and pepper. Heat 2 tablespoons oil in a 12-inch heavy skillet over moderately high heat until hot but not smoking, then brown chicken, turning over once, about 6 minutes total, and transfer to a plate. Sauté onions, garlic, and bay leaves in fat remaining in skillet, stirring frequently, until onions are softened, 4 to 5 minutes. Add chorizo and paprika and cook, stirring, 1 minute. Add olives, raisins, wine, and broth and bring to a boil, stirring and scraping up any brown bits. Return chicken to skillet along with any juices accumulated on plate, then reduce heat to moderately low and simmer chicken, covered, turning over once, until tender, 25 to 30 minutes total.

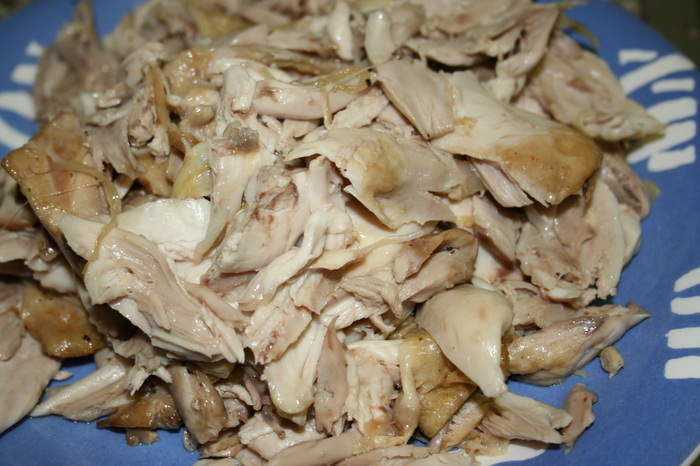
Transfer chicken to a clean plate. (Sauce in skillet should be the consistency of heavy cream; if it's not, briskly simmer until slightly thickened, about 5 minutes.) When chicken is cool enough to handle, discard skin and bones and coarsely chop meat. Stir chicken into sauce and discard bay leaves. Season with salt and pepper, then cool filling, uncovered, about 30 minutes.

Forming and baking of empañada
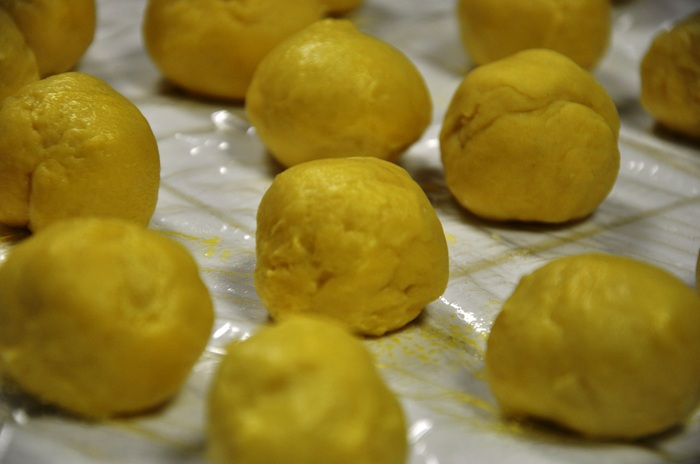
Form dough into a ball, then wrap in oiled plastic wrap (oiled side in) and let stand at room temperature 30 minutes.

Put oven rack in middle position and preheat oven to 400°F. Grease 2 15x10-inch shallow baking pan (1 inch deep) with 1 tablespoon oil.

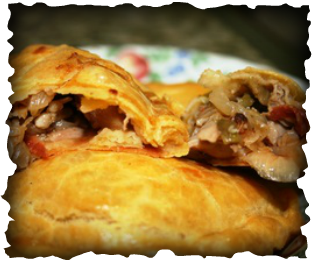
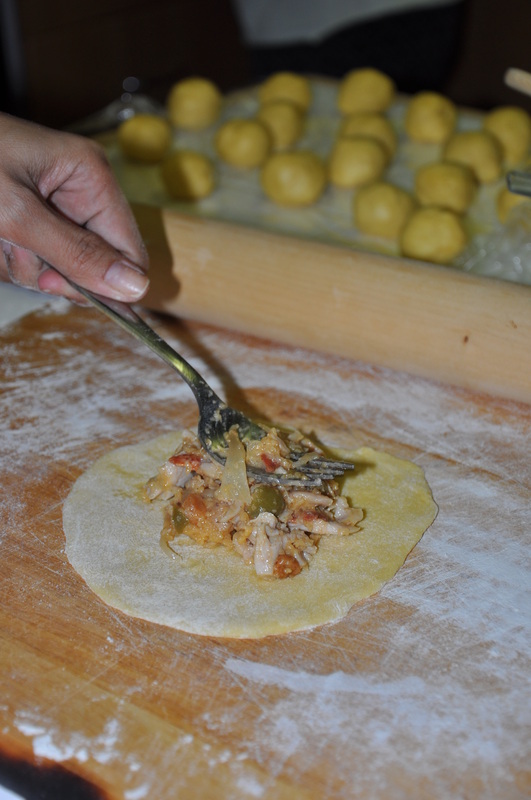
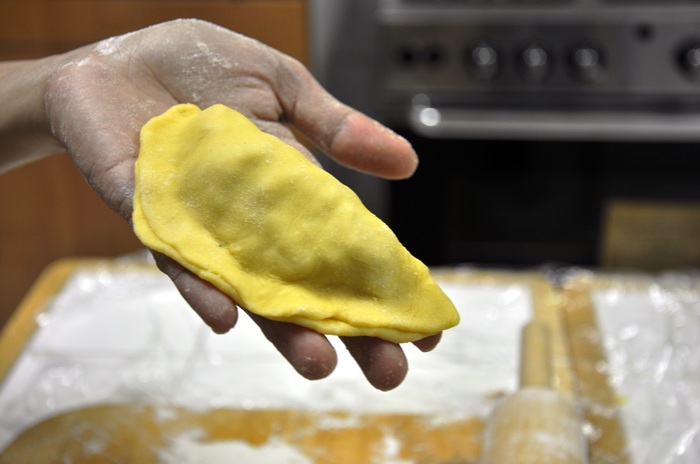
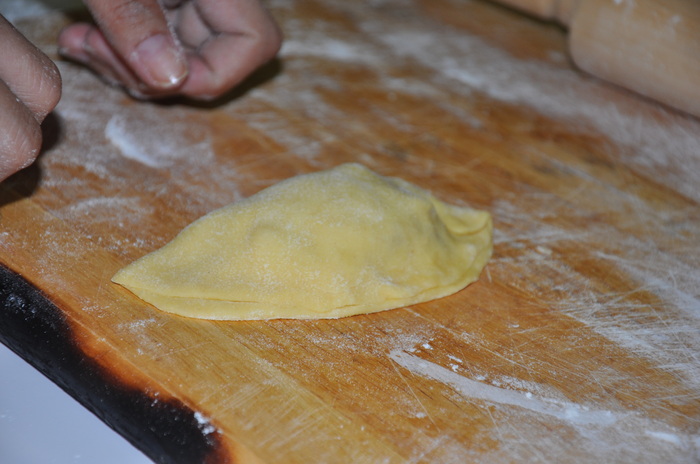
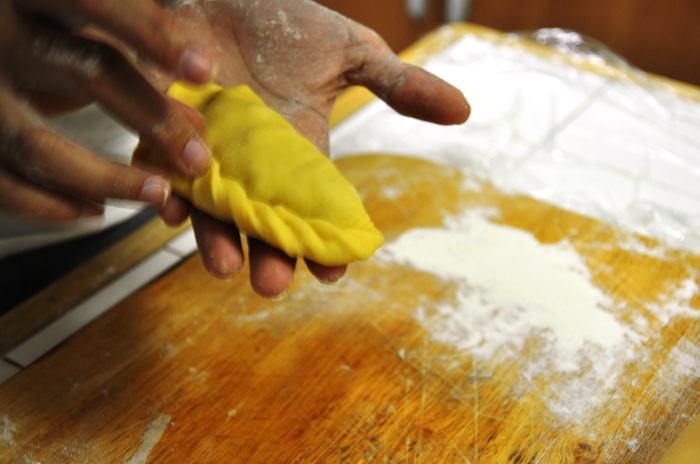
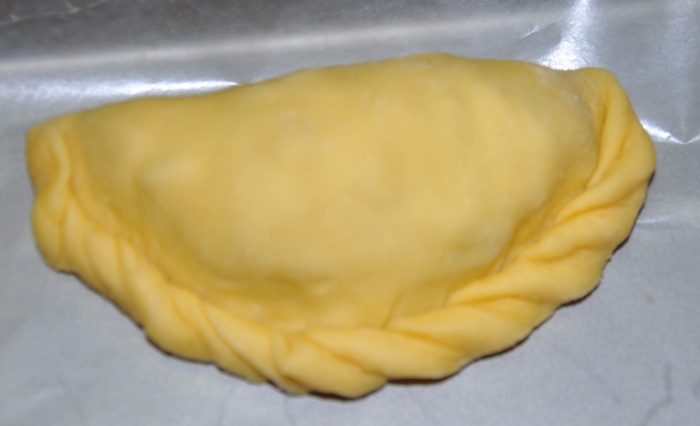
Form smaller balls roughly 2x2 inch. Spread a tablespoon or more of filling, evenly and leaving 1 inch border. Moisten border with water then fold to make a half moon shape. Press the edges together and sill. Roll the edges in and press to form a decorative rim. Roll out remaining dough in the same manner.

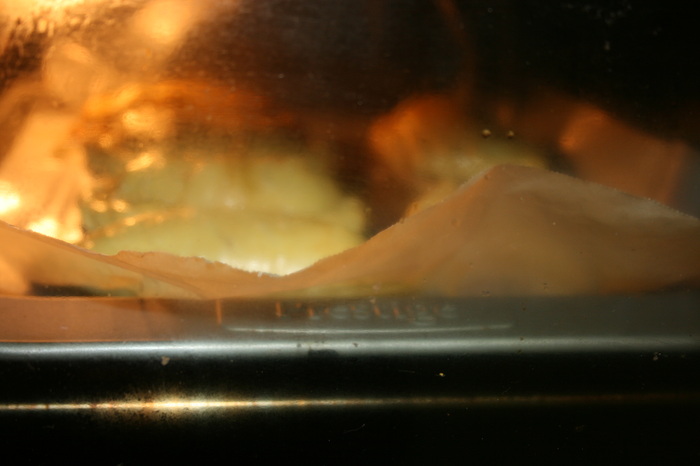
Bake empanada 15 minutes, then brush crust with the beaten egg. Bake until crust is golden brown, 20 to 25 minutes more. Remove from oven and brush empanada with remaining egg. Cool 10 minutes in pan on a rack, then slide empanada onto rack using a wide metal spatula and cool to warm.

I didn't think I'd ever say this,,, but this one made me realize... this is why I want to learn how to cook.... so I can eat good food like this one.

Impress your love ones, enjoy eating and most especially,,, happy cooking!

Acoustic Chef, cookin’one tune at a time!
Enjoyed this post? Don’t miss out on Fave Recipes page updates

Enter your email address:

Delivered by FeedBurner

0 Comments

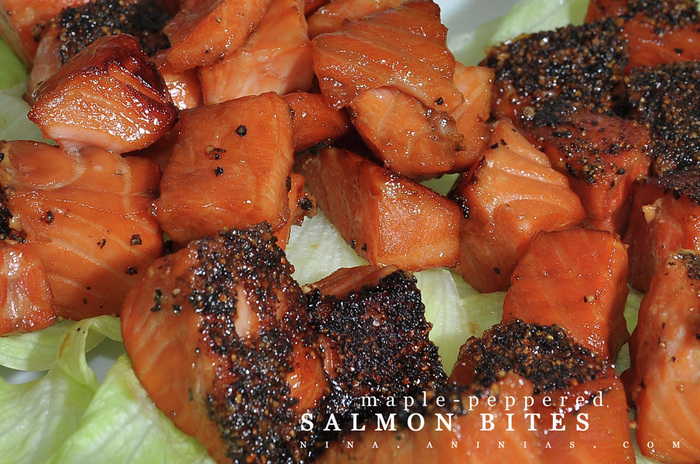
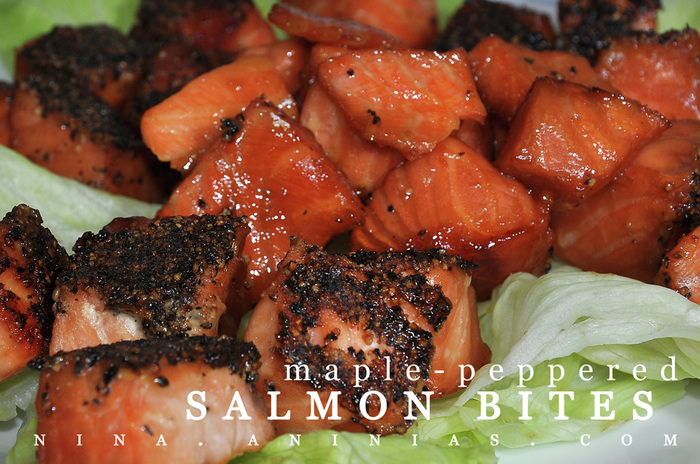
Maple-Pepper Salmon Bites

9/13/2010

0 Comments

 
Picture
FV11-09-0910

Original Recipe:
Nancy Hawley | January 1999

This was the last salmon I made for a three in a row salmon dish that has to be as inconspicuous as possible.

The third one has to be special, otherwise my boys will probably not even put it in their mouth.

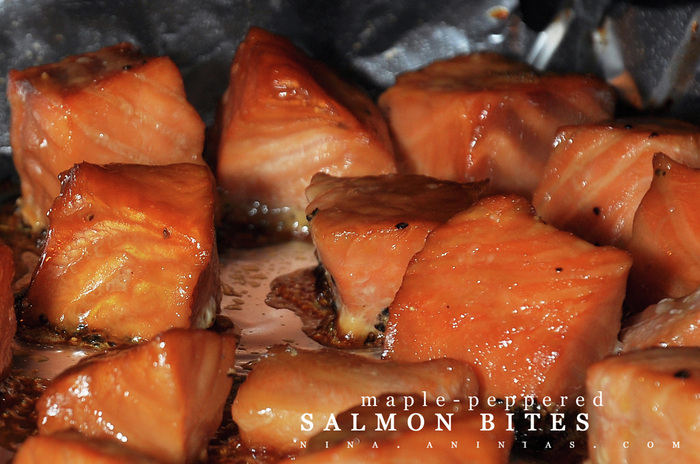
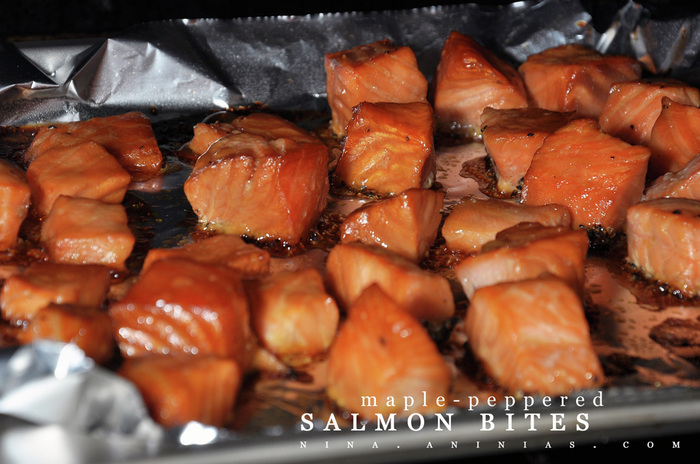
This was perfect... the maple syrup aroma was all over the kitchen... my kids got so curious and even watched it with me while I make sure the oven temperature doesn't burn it to dryness.

Tip 1: Don't dip the salmon bites to pepper. Use your finger to control how much pepper you want on your salmon bite. Have just enough pepper to have a little kick...
Tip 2: Make half the portion without pepper. Kids will love it!
Tip 3: I think this will also work well with boneless chicken pieces.

I did this in a jif.

INGREDIENTS:

1 cup maple syrup
1/3 cup soy sauce
700 grams skinned salmon fillet
1/8 cup freshly ground black pepper
Vegetable or canola oil spray

Cut salmon into bite-size cubes. Combine maple syrup and soy sauce in a medium-size bowl and add salmon. Make sure the fish is fully immersed in the marinade. Cover and refrigerate for 24 hours.

Grease a sheet of aluminum foil with the oil spray. Preheat oven to 500°F. put pepper in small plate and using your finger tip, tap a little pepper on one side of salmon. Place each peppered piece on foil, then cook in oven for 3 to 4 minutes. Serve immediately. 

This is perfect appetizer for gatherings... even guests who are picky and not fish eaters will like this a lot. It's yum-my...
Enjoyed this post? Don’t miss out on Fave Recipes page updates

Enter your email address:

Delivered by FeedBurner

0 Comments
Forward>>

    Fave Recipes

    I'm No Chef but I love food like it's no one's business.

    I didn't know anything about cooking... frying an egg used to be a nightmare.. until I was forced to learn more... I had my first born... that's when my gastronomic journey started...

    Join me in my food quest.
    Laugh at my embarrassing moments.
    Share my triumphs.

    And if you're brave enough ... cook with me (ooooh scary!), virtually that is, and have the most enjoyable time!

    Welcome aboard
    fellow foodies!

    Print Friendly and PDF

    Categories

    All
    Ac Spin
    Appetizer
    Baking
    Bbq
    Beef
    Bread
    Breakfast
    Butter
    Chicken
    Dairy
    Dessert
    Drink
    Entree
    Fave
    Fondant
    Gobbledtooquicklyphotosnexttime
    Halloween
    Icing And Frosting
    Lamb
    Main Course
    Marinade
    Nibbles
    Occasions
    Pasta
    Pastry
    Pork
    Poultry
    Rice
    Salad
    Sandwich
    Sauce
    Seafood
    Side Dish
    Slow Cooker
    Smoothie
    Snacks
    Soup
    Spaghetti Challenge
    Stew
    Stock
    Tapas
    Vegetables
    Workinprogress
    Zespiri Kiwifruit

    Archives

    February 2016
    January 2016
    January 2013
    November 2012
    October 2012
    September 2012
    August 2012
    July 2012
    June 2012
    May 2012
    April 2012
    March 2012
    February 2012
    September 2011
    August 2011
    July 2011
    June 2011
    May 2011
    April 2011
    February 2011
    January 2011
    December 2010
    November 2010
    October 2010
    September 2010
    August 2010

    RSS Feed

Powered by Create your own unique website with customizable templates.