I was just gonna make this a Picture Recipe but decided against it. I have seen too many recipes and video how-tos that suggest using cake out of the box. I mean, yes it's not a bad idea but seriously? If you're not a child... out of the box cake is a let down of any adult's skills.
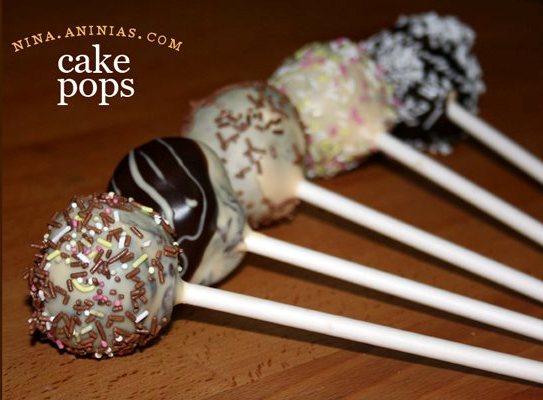
This foundation cake is not sweet at all, so perfect for decoration since we all know how sweet most icings are. This cake will complement your icing like burgers and french fries.
Ingredients:
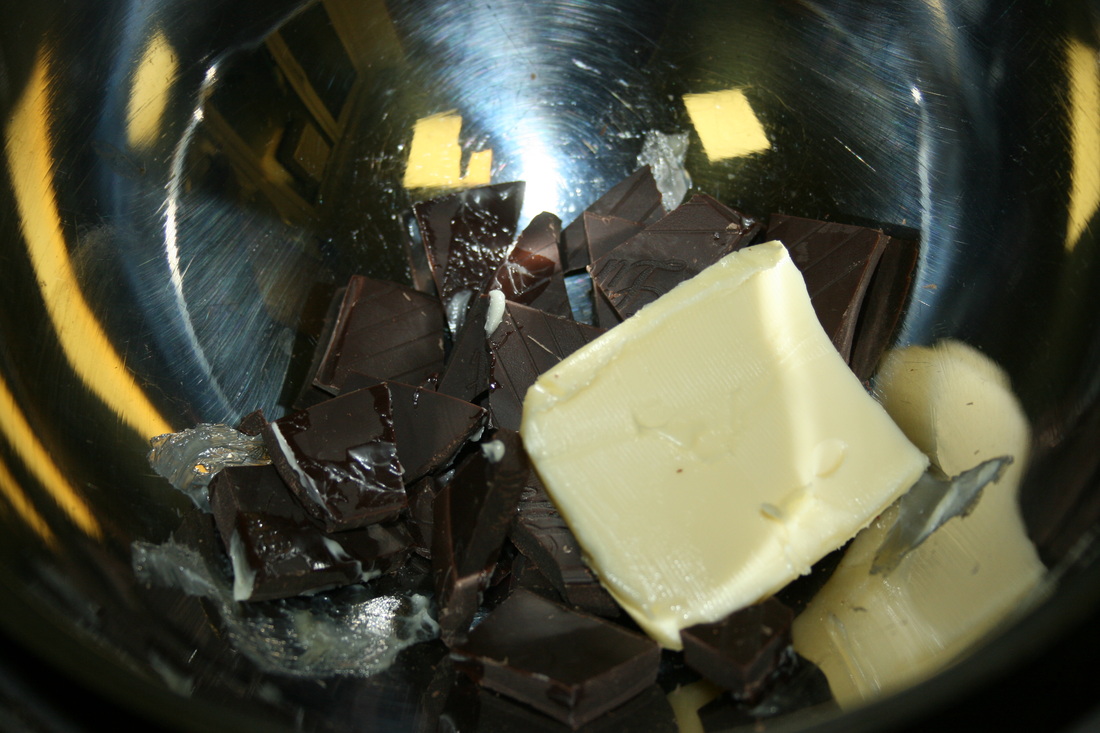
125 grams dark chocolate
125 grams butter
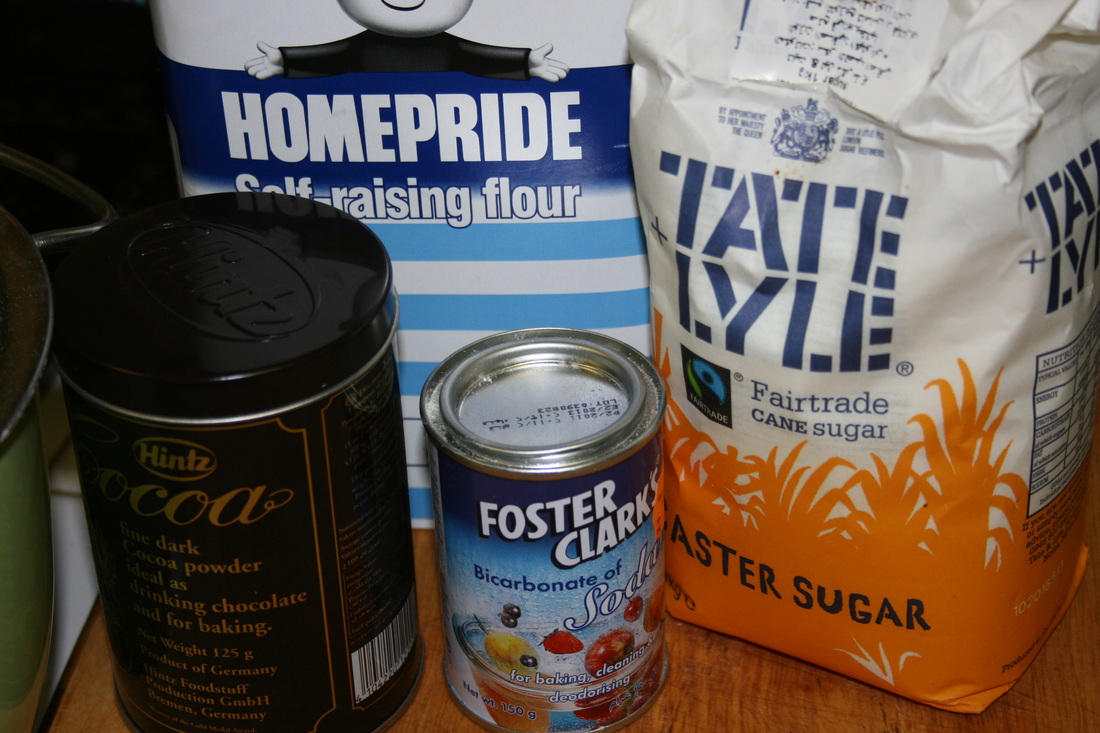
250 grams caster sugar
350 grams self-raising flour
1 tablespoon cocoa powder
1 teaspoon baking soda
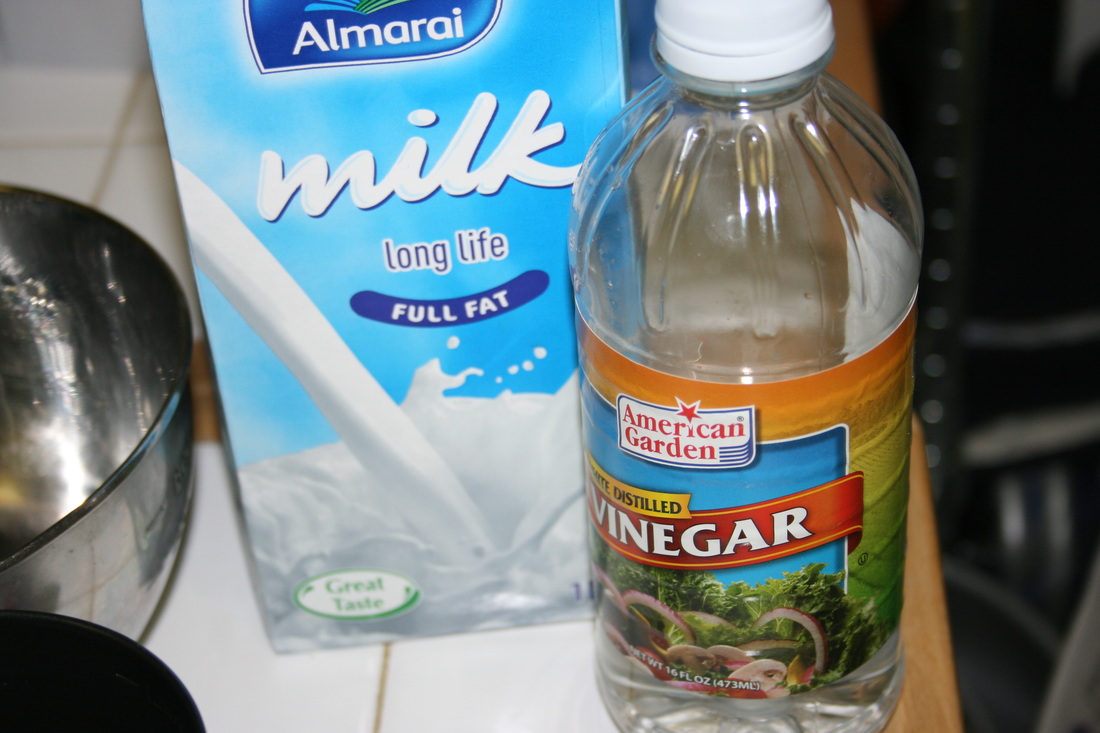
1 tablespoon white vinegar
250 ml milk
2 medium eggs
Directions To Bake:
Preheat the oven to 160C.
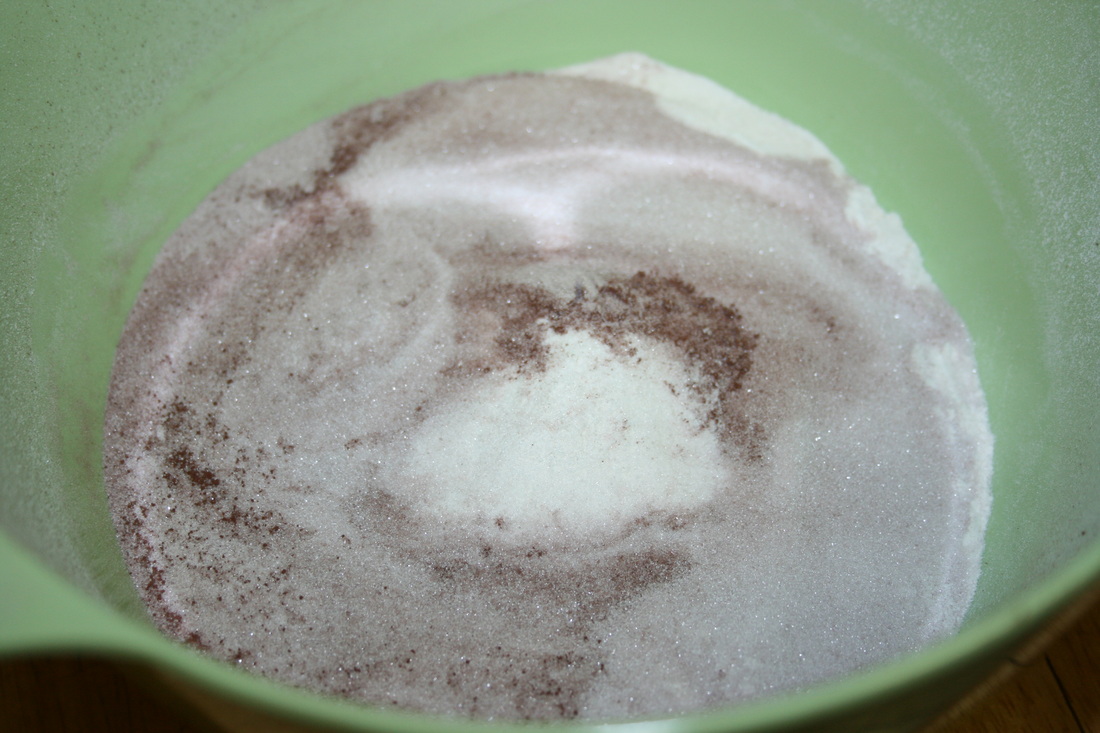
In a mixing bowl, sift, self-raising flour, sugar, cocoa powder, baking soda.
in a separate bowl, add vinegar into the milk, cultivate for 5 minutes. Add eggs and beat well.
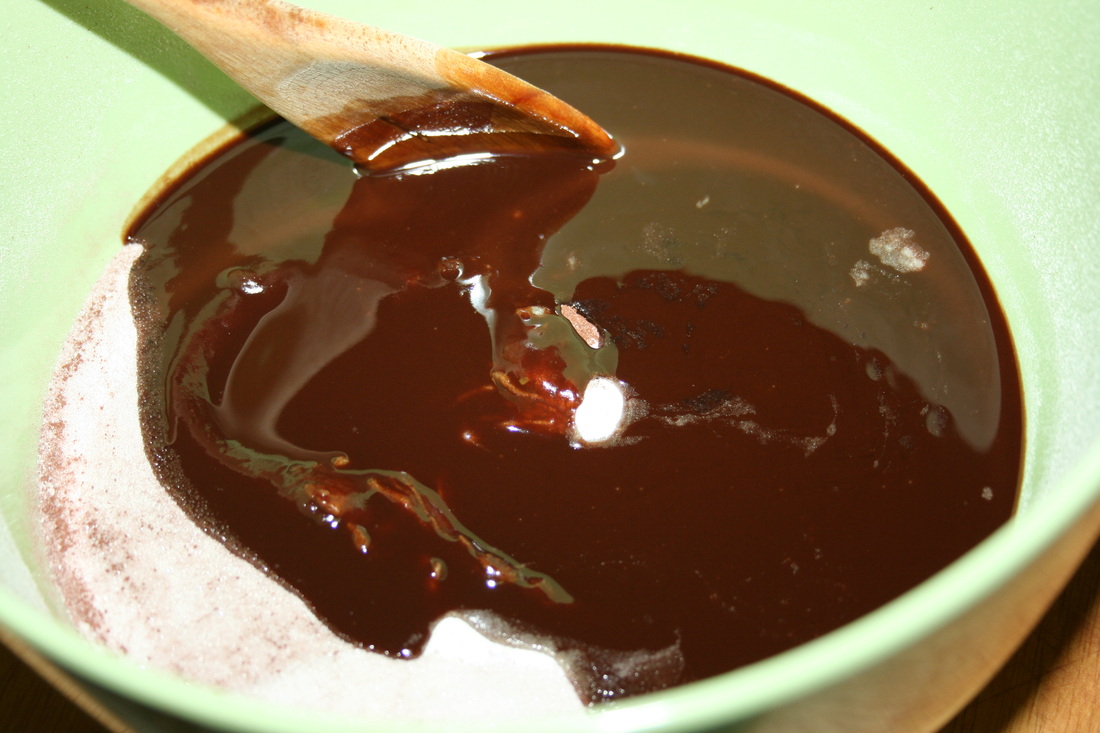
Break up the chocolate into a double boiler or a large bowl on top of a pan with simmering water. Help the melting process a little bit with a teaspoon butter. Once chocolate is melted, take it off the heat and add the rest of the butter to the chocolate. Stir until smooth. Cool for 5 minutes.
Add chocolate mixture into the dry sifted ingredients (flour, sugar, cocoa and baking soda). Add milk and vinegar concoction and beat until it's smooth.
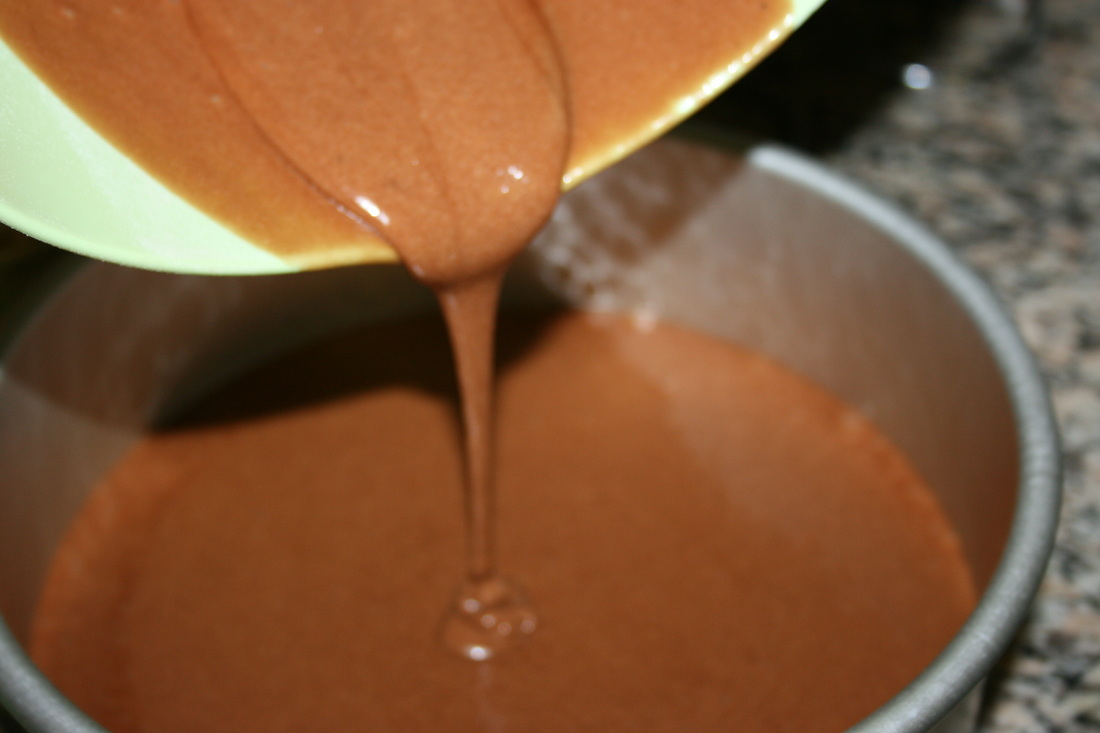
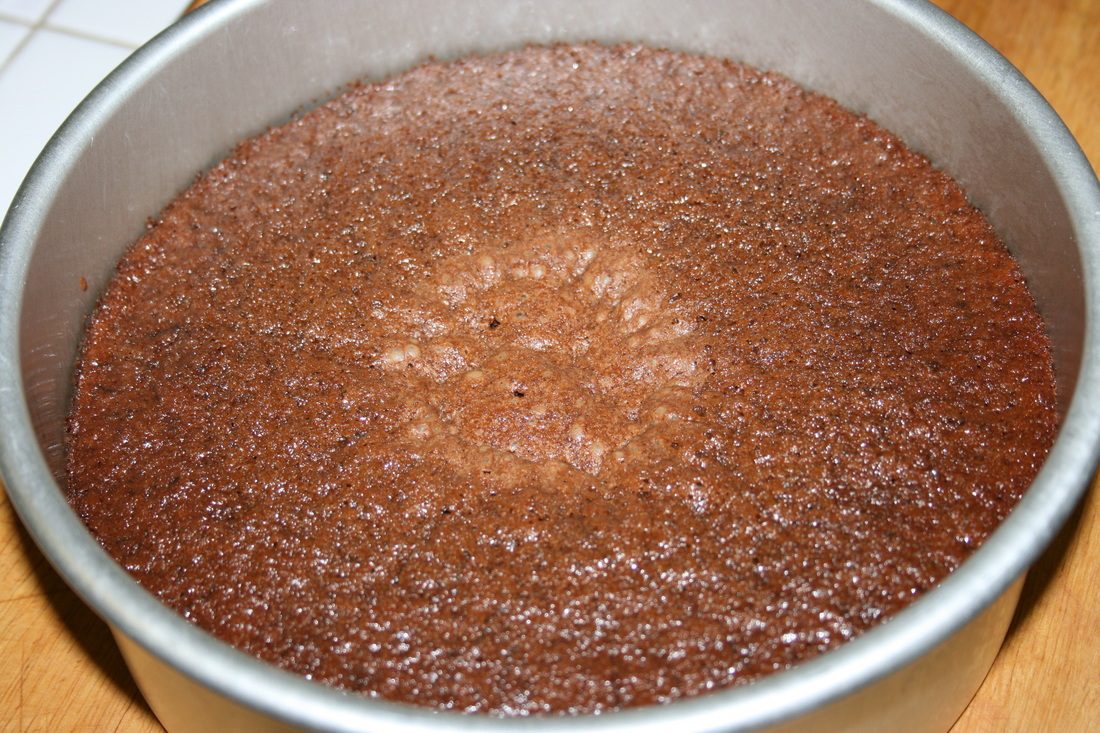
Divide the batter into the pan and bake for 1 hour and 15 minutes or until inserted skewer comes out clean. Start checking after 1 hour.
Cool in the pan for 10 minutes then turn out on a wire rack to cool completely.
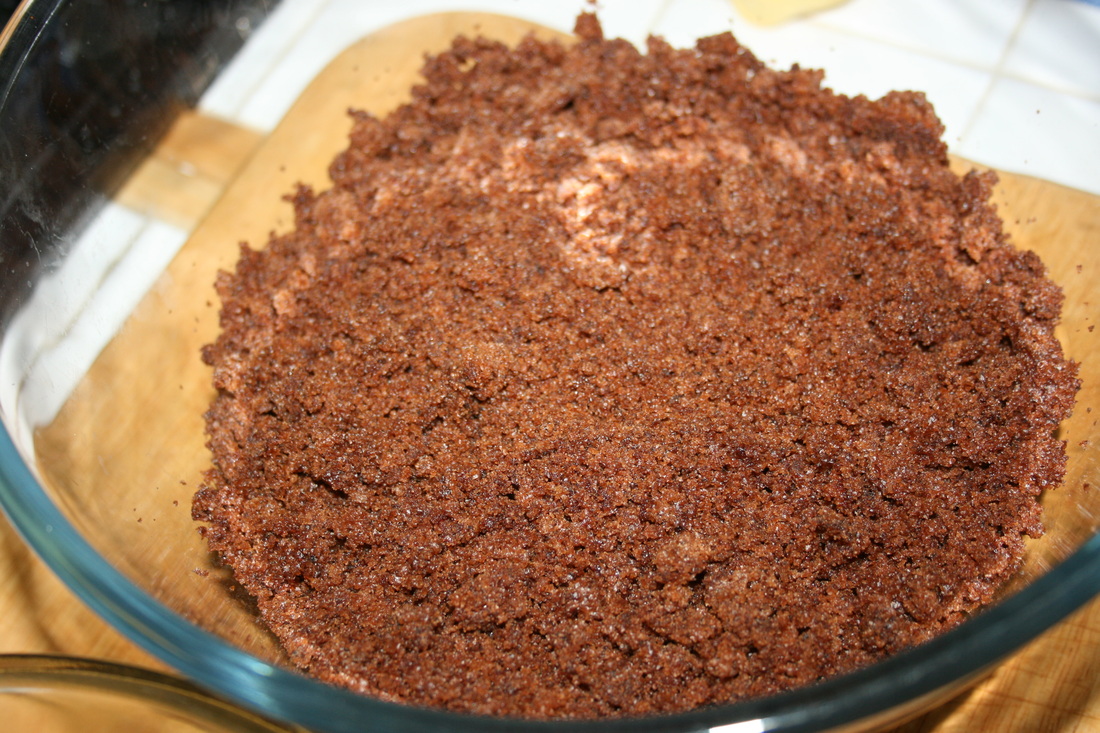
Cut it into 4 portions. Over a big bowl, rub 2 portions against each other to create small and even crumbs. If some big chunks come off your cake, just use your fingers to crumb them smaller.
To Mold:
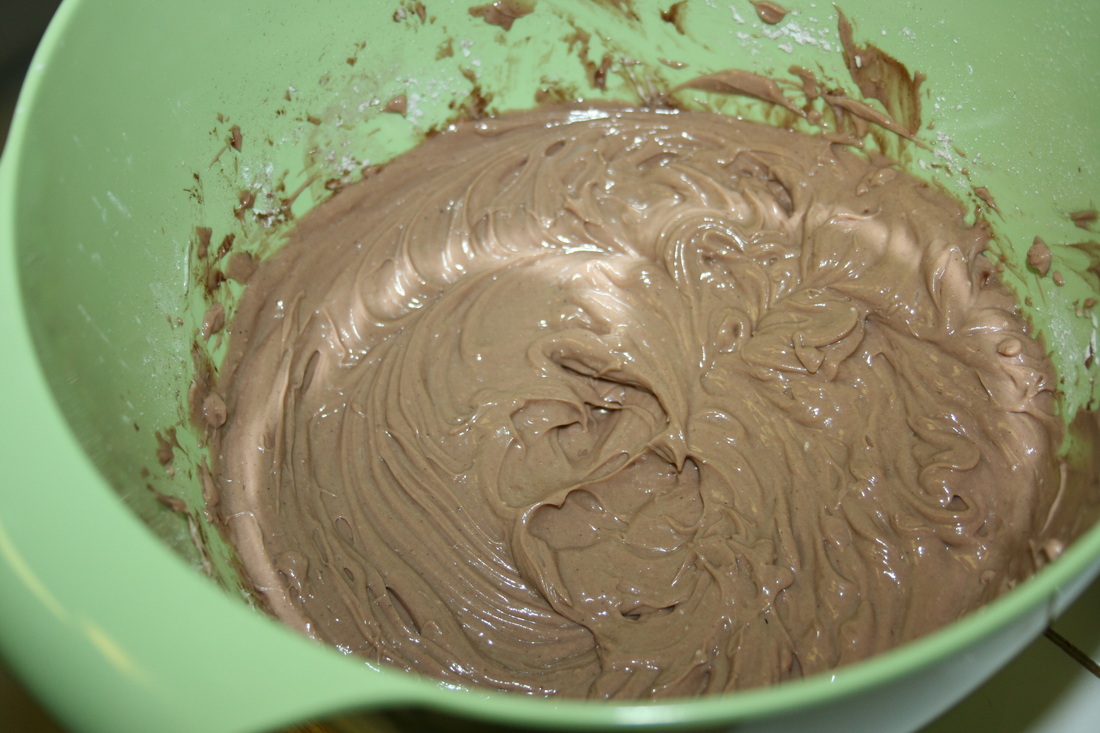
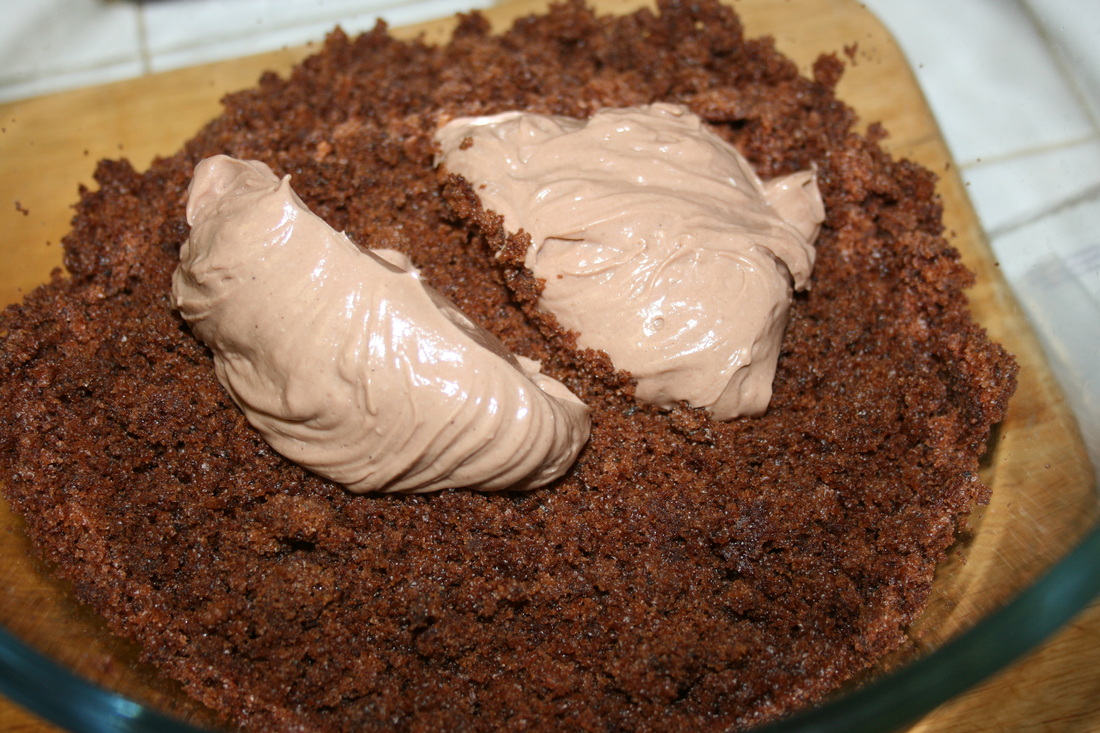
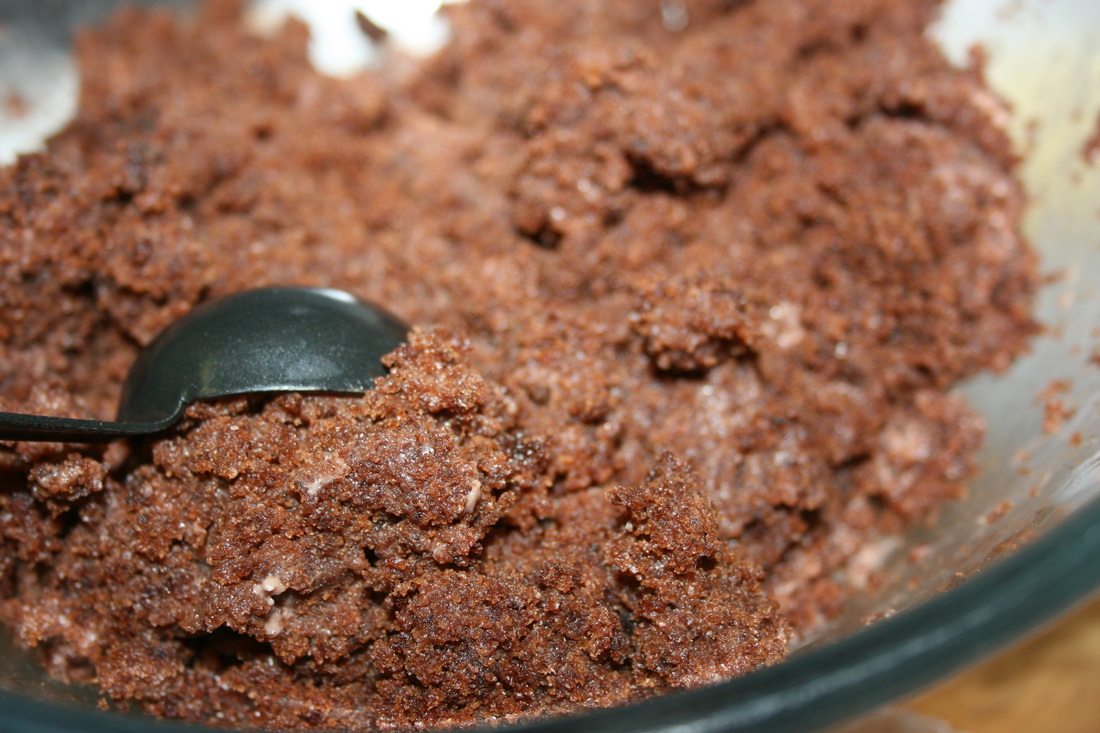
Using icing of your choice, add some blob of it to the crumbs until it starts binding. I'll leave the amount to your judgment because different icings have different consistencies. Let's just say not too saggy wet that it will fall apart and not to dry else it'll crack when you coat it... should be just the right consistency that you can form a ball. Mold one, if you're happy with it and you think it'll hold then that's it... if it's either way then modify until you get the right texture.
Use two tablesppons of cake crumbs to make a decent size cake balls. Roll it on your hands until the sides are smooth. Line a shallow cake pan with wax paper. Rest your cake balls on it. Put the pan in the fridge to toughen the balls a little bit. Some keeps them in freezers but I personally prefer just the fridge especially if I can coat it as soon as it hardens a bit.
To Coat:
Take the cake balls out of the fridge.
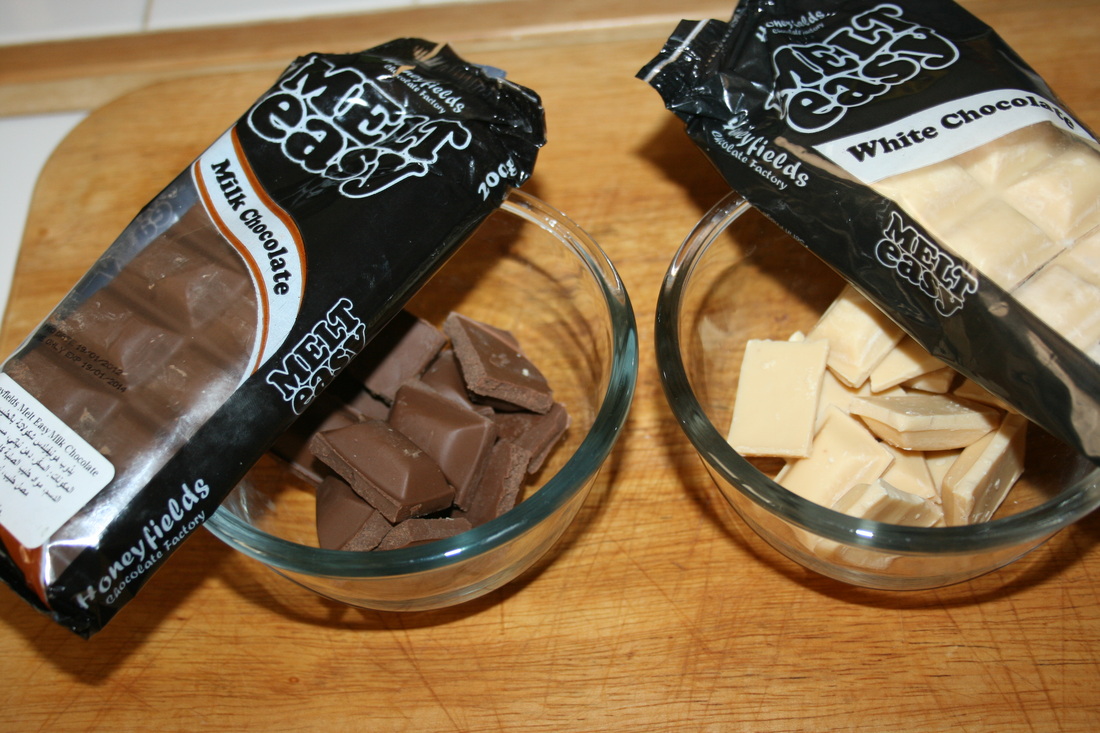
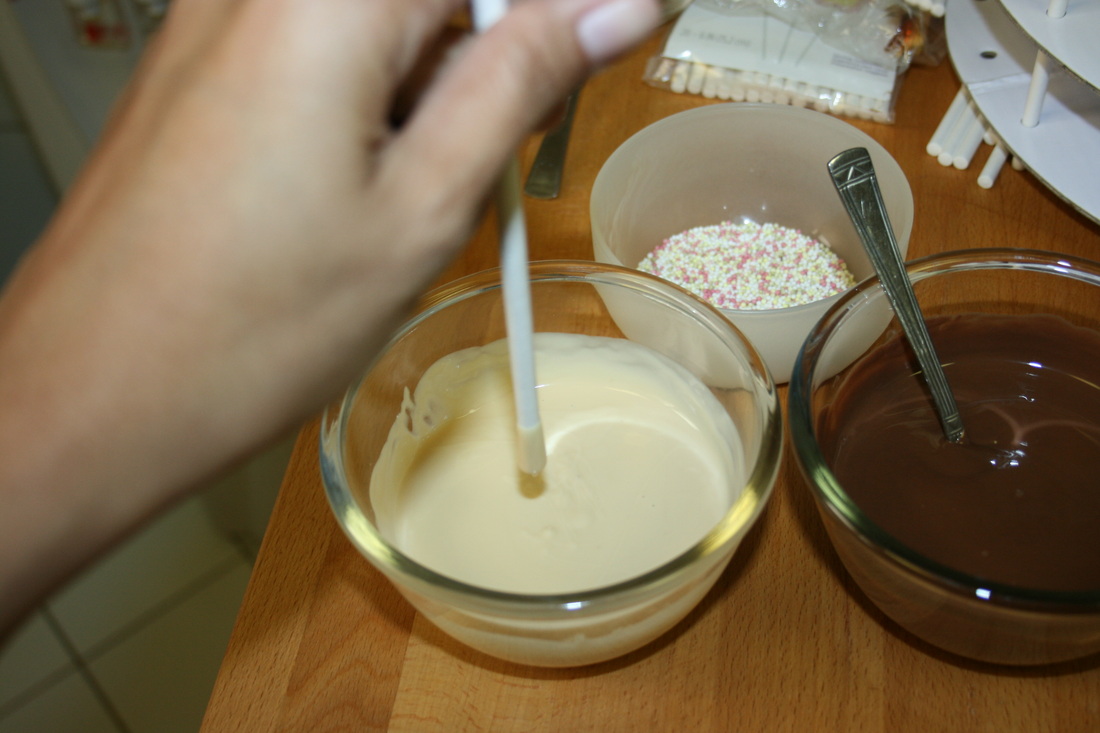
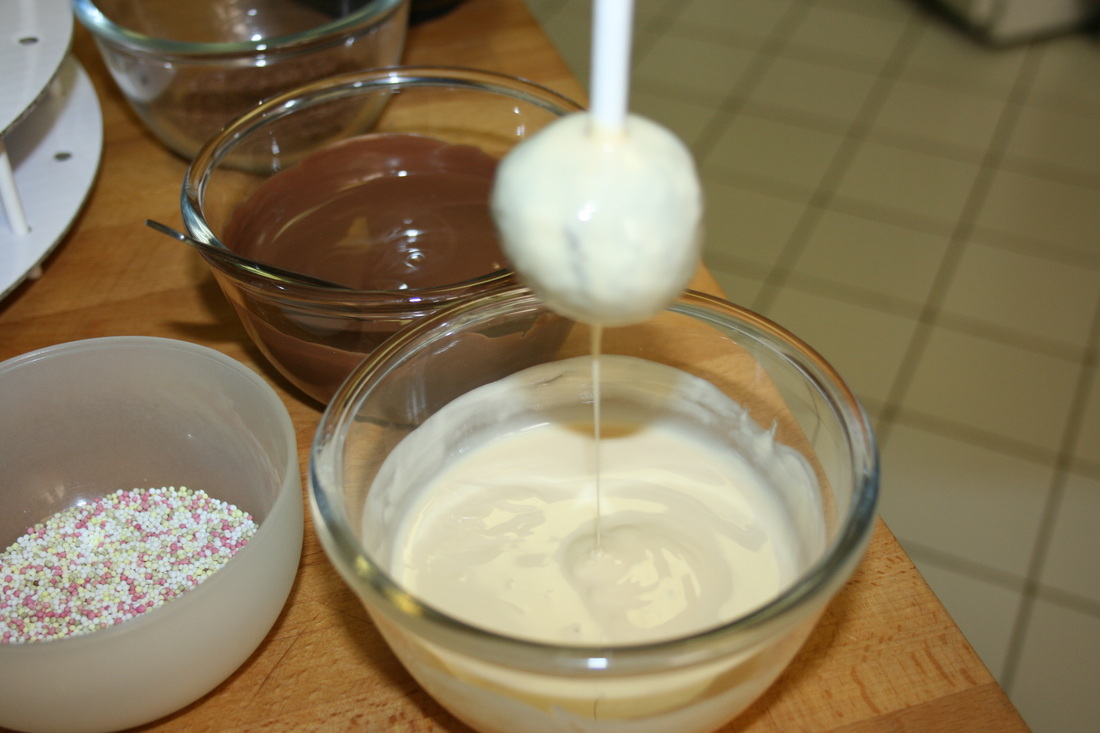
Place chocolate melts in a microwaveable dish and power it up for 1 - 2 minutes. Stir after a minute to make sure it is melting evenly.
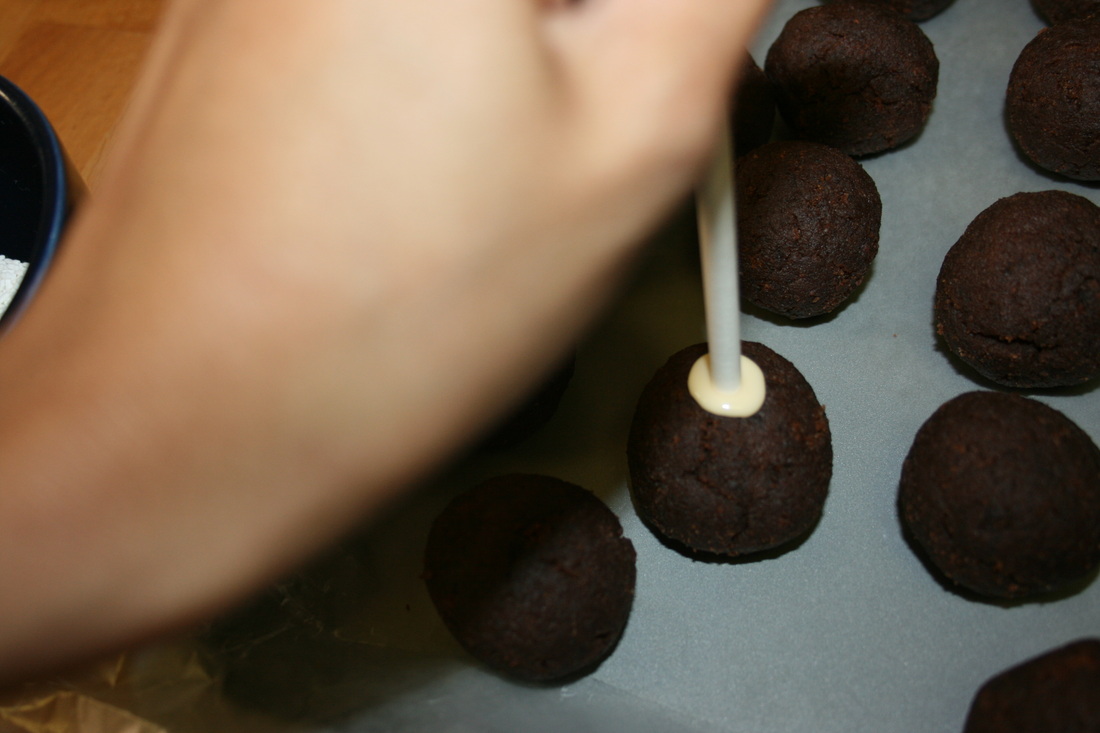
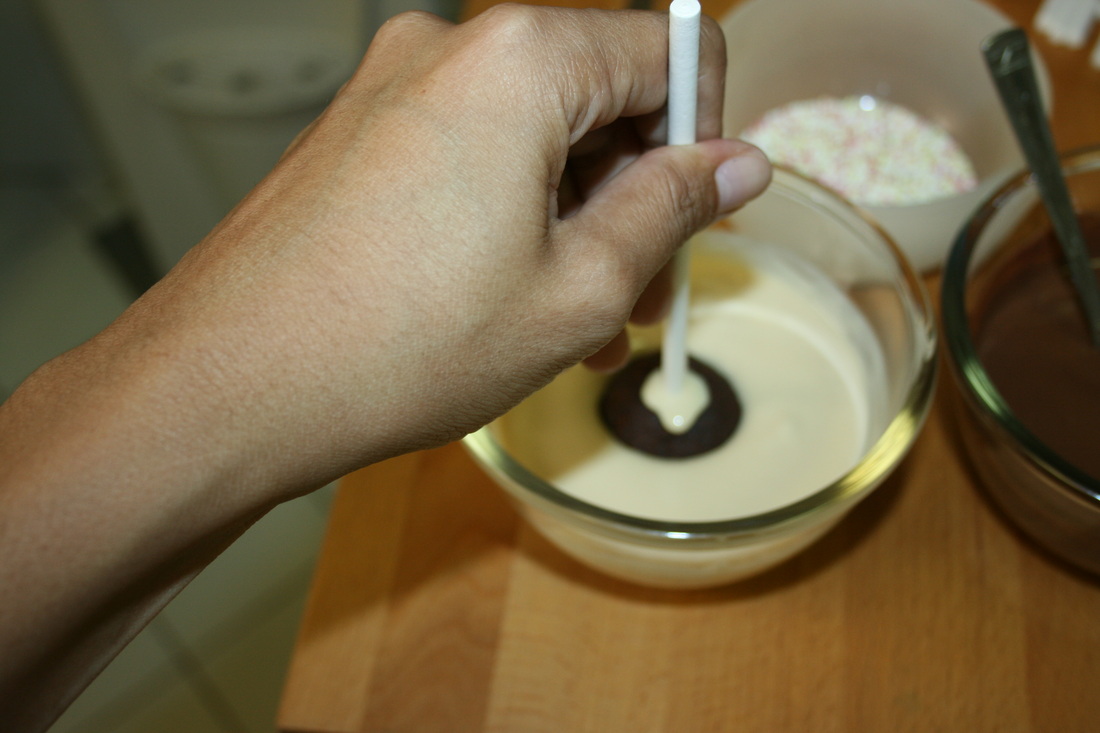
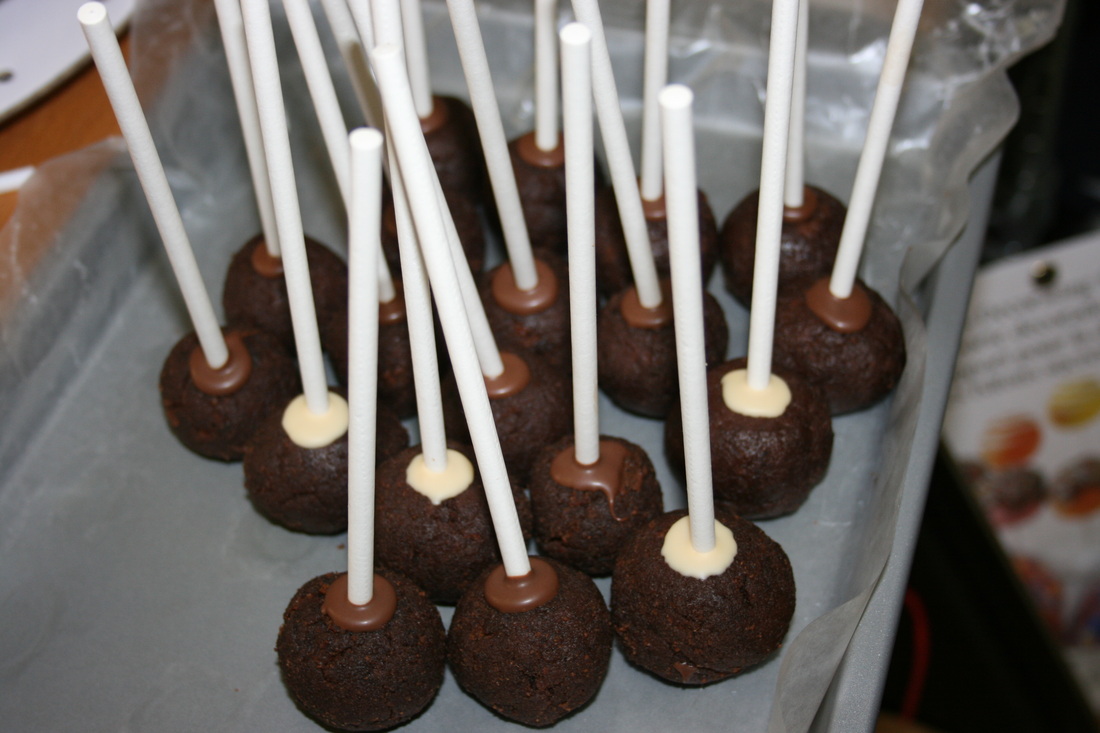
Dip your stick 2 inches into the melted chocolates. This will serve as a glue. Insert the dipped stick into the center of the ball, just before you hit the center of the ball. Pushing it farther will break the top of the ball and you dont want that
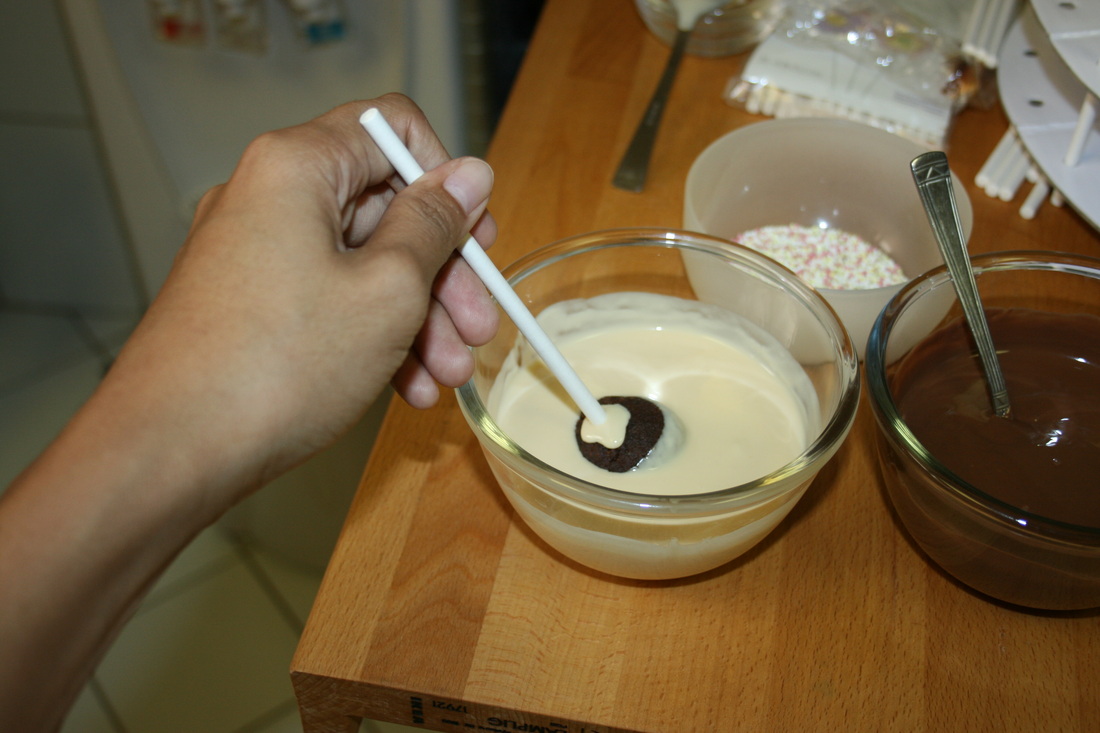
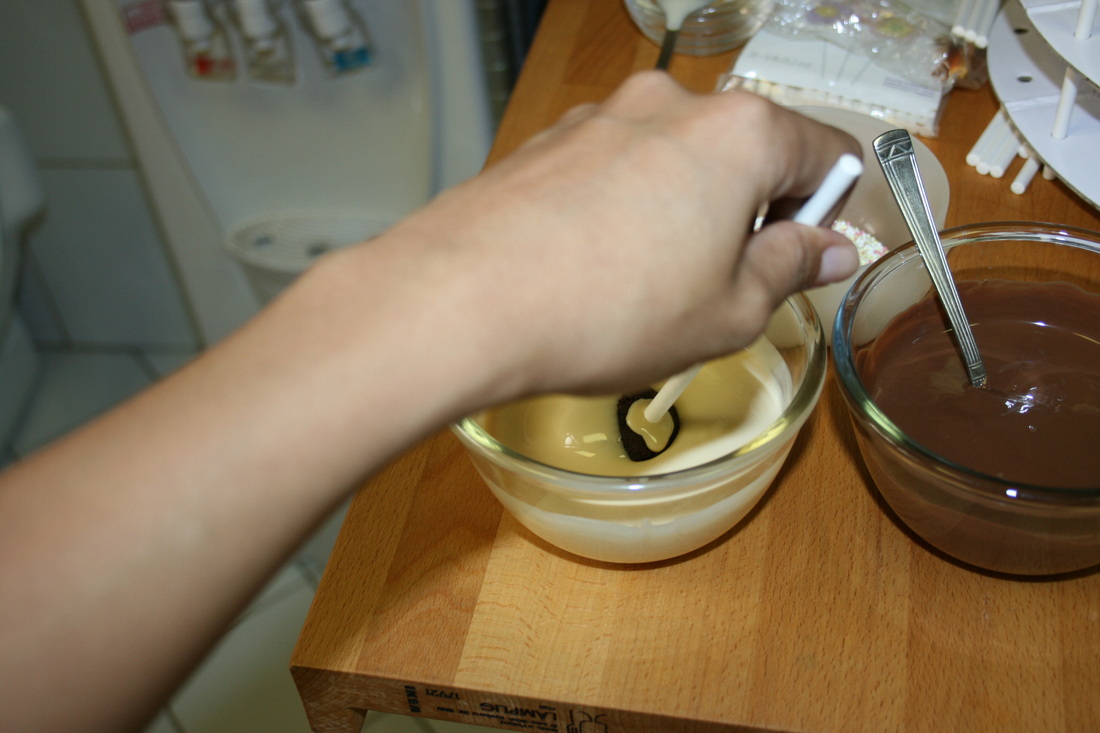
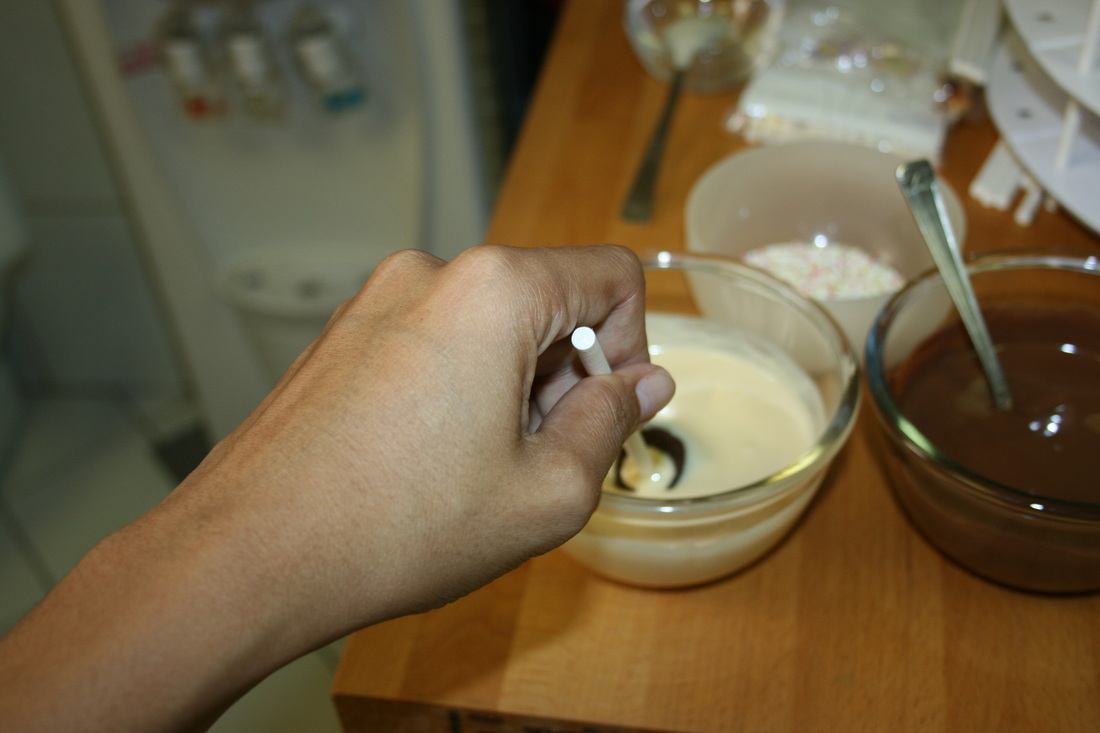
Holding the stick 180 degrees. Dip the ball ensuring it's fully covered with chocolate melts. Either by using a teaspoon to assist with the coating or by gently rocking the balls on each side. Don't stir the melt with the ball because it will loosen the stick in the center... you sould just rock it gently. Lift the ball straight, dripping excess chocolate melts on top. If you think the coating is still a bit thick on the sides, hold the stick approximately 80 degrees, while slowly rotating the stick, tap the holding palm of your hand with the other hand gently. The excess will drip on the sides.
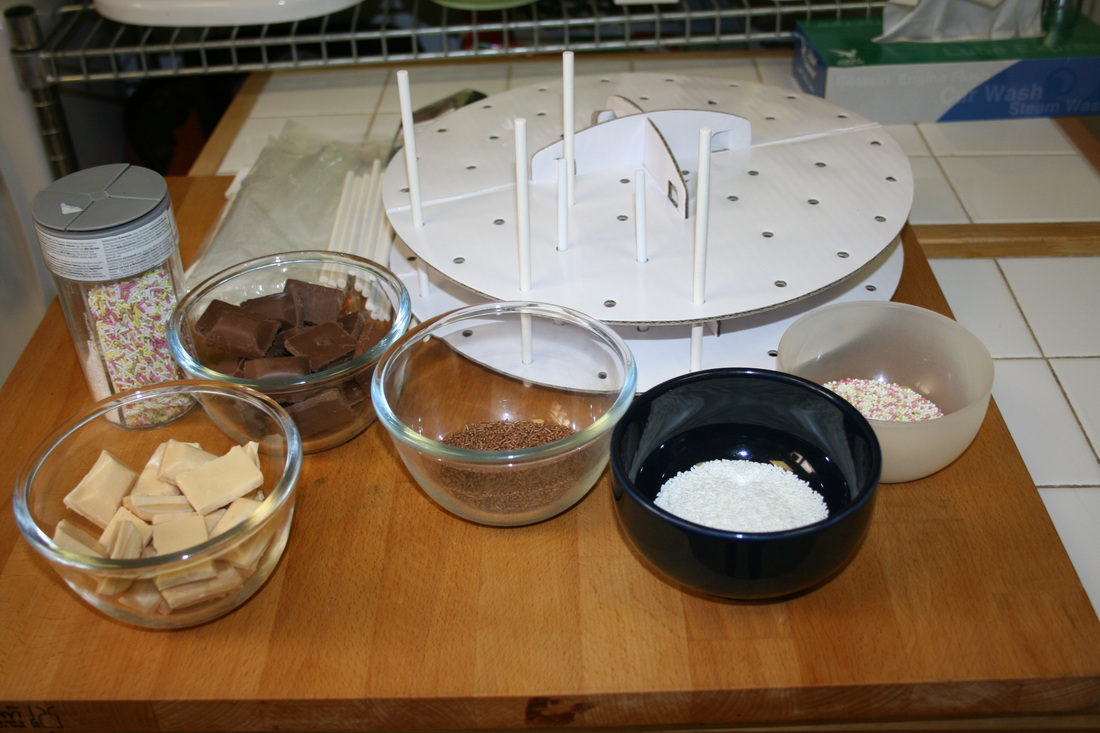
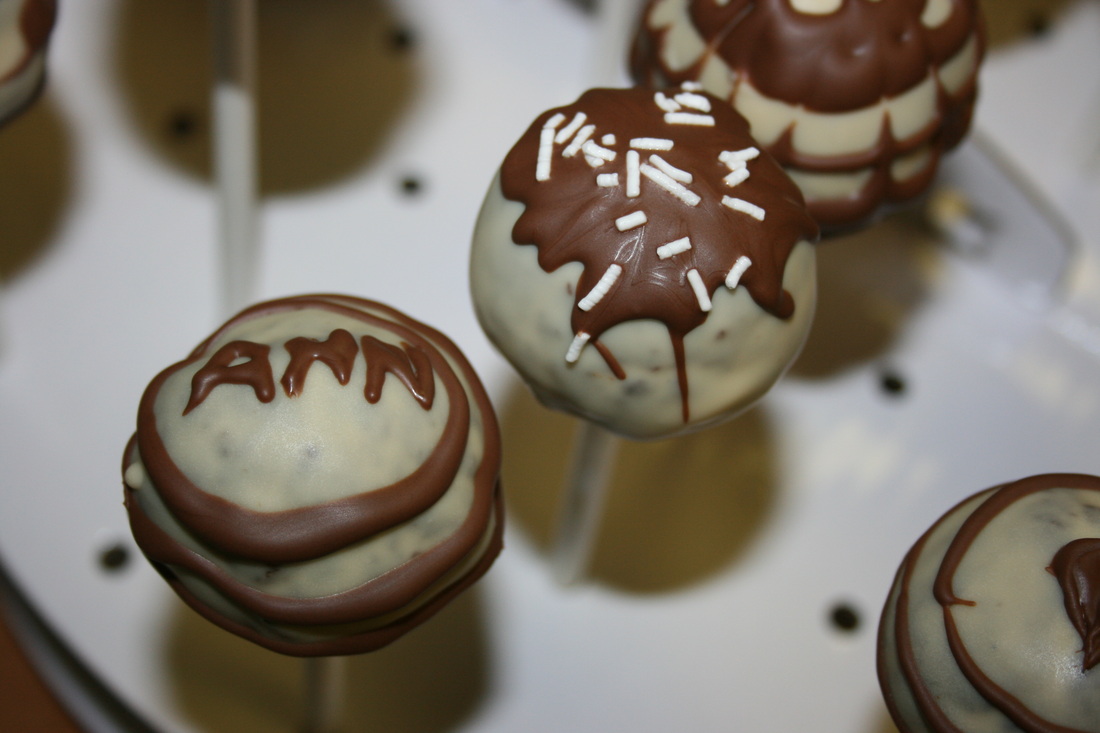
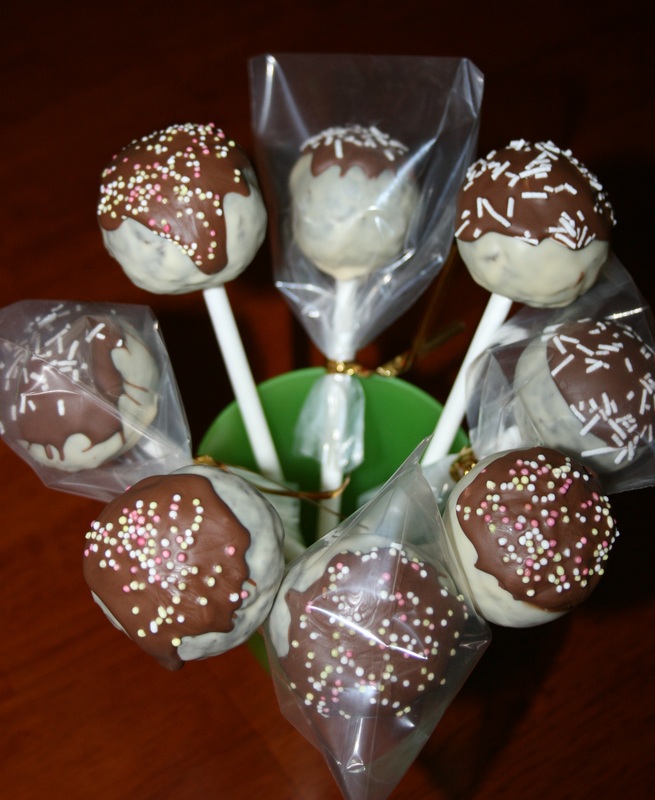
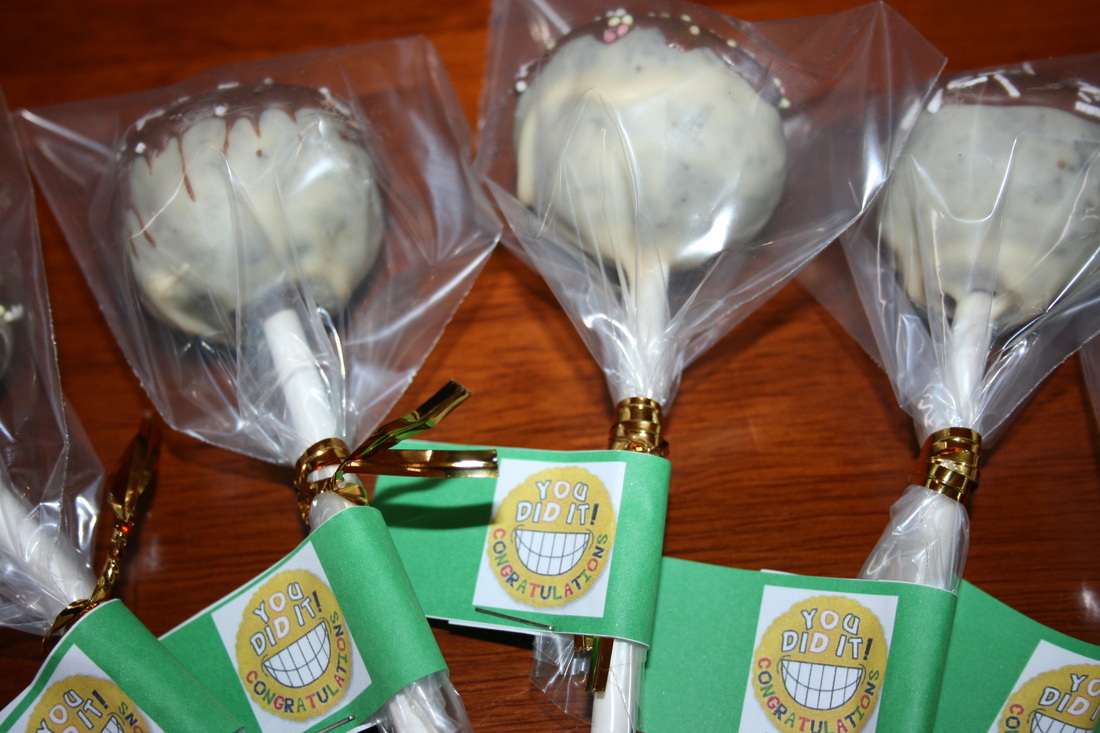
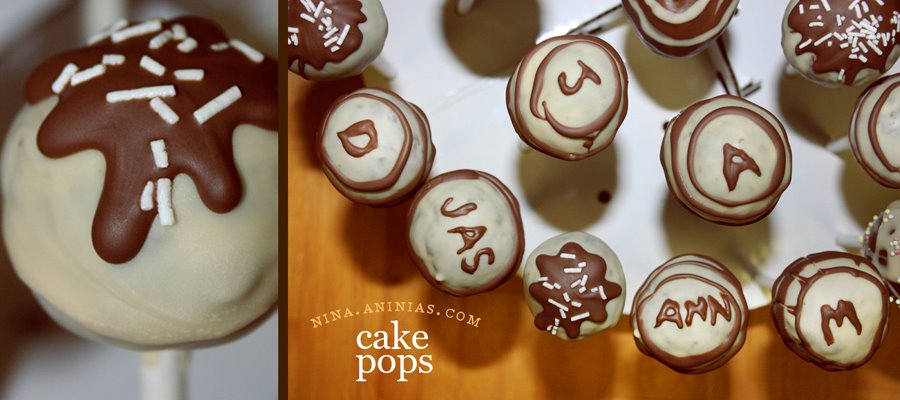
Before the melts hardens, you can decorate with confetti of sprinkles or a dripping of contrasting colours.
Perching the sticks on a styrofoam will keep it secure and dry.
This foundation cake is not sweet at all, so perfect for decoration since we all know how sweet most icings are. This cake will complement your icing like burgers and french fries.
Ingredients:
125 grams dark chocolate
125 grams butter
250 grams caster sugar
350 grams self-raising flour
1 tablespoon cocoa powder
1 teaspoon baking soda
1 tablespoon white vinegar
250 ml milk
2 medium eggs
Directions To Bake:
Preheat the oven to 160C.
In a mixing bowl, sift, self-raising flour, sugar, cocoa powder, baking soda.
in a separate bowl, add vinegar into the milk, cultivate for 5 minutes. Add eggs and beat well.
Break up the chocolate into a double boiler or a large bowl on top of a pan with simmering water. Help the melting process a little bit with a teaspoon butter. Once chocolate is melted, take it off the heat and add the rest of the butter to the chocolate. Stir until smooth. Cool for 5 minutes.
Add chocolate mixture into the dry sifted ingredients (flour, sugar, cocoa and baking soda). Add milk and vinegar concoction and beat until it's smooth.
Divide the batter into the pan and bake for 1 hour and 15 minutes or until inserted skewer comes out clean. Start checking after 1 hour.
Cool in the pan for 10 minutes then turn out on a wire rack to cool completely.
Cut it into 4 portions. Over a big bowl, rub 2 portions against each other to create small and even crumbs. If some big chunks come off your cake, just use your fingers to crumb them smaller.
To Mold:
Using icing of your choice, add some blob of it to the crumbs until it starts binding. I'll leave the amount to your judgment because different icings have different consistencies. Let's just say not too saggy wet that it will fall apart and not to dry else it'll crack when you coat it... should be just the right consistency that you can form a ball. Mold one, if you're happy with it and you think it'll hold then that's it... if it's either way then modify until you get the right texture.
Use two tablesppons of cake crumbs to make a decent size cake balls. Roll it on your hands until the sides are smooth. Line a shallow cake pan with wax paper. Rest your cake balls on it. Put the pan in the fridge to toughen the balls a little bit. Some keeps them in freezers but I personally prefer just the fridge especially if I can coat it as soon as it hardens a bit.
To Coat:
Take the cake balls out of the fridge.
Place chocolate melts in a microwaveable dish and power it up for 1 - 2 minutes. Stir after a minute to make sure it is melting evenly.
Dip your stick 2 inches into the melted chocolates. This will serve as a glue. Insert the dipped stick into the center of the ball, just before you hit the center of the ball. Pushing it farther will break the top of the ball and you dont want that
Holding the stick 180 degrees. Dip the ball ensuring it's fully covered with chocolate melts. Either by using a teaspoon to assist with the coating or by gently rocking the balls on each side. Don't stir the melt with the ball because it will loosen the stick in the center... you sould just rock it gently. Lift the ball straight, dripping excess chocolate melts on top. If you think the coating is still a bit thick on the sides, hold the stick approximately 80 degrees, while slowly rotating the stick, tap the holding palm of your hand with the other hand gently. The excess will drip on the sides.
Before the melts hardens, you can decorate with confetti of sprinkles or a dripping of contrasting colours.
Perching the sticks on a styrofoam will keep it secure and dry.


 RSS Feed
