There's nothing better than easy to make meals packed with lots of flavours.
Tip 1: It's better to pan fry your potatoes with butter, salt and pepper. I know because I tried it and it has way better flavours.
Tip 2. You can have your kale baked until it becomes a crispy chip or you can have it stir fried. Whichever it is you prefer.
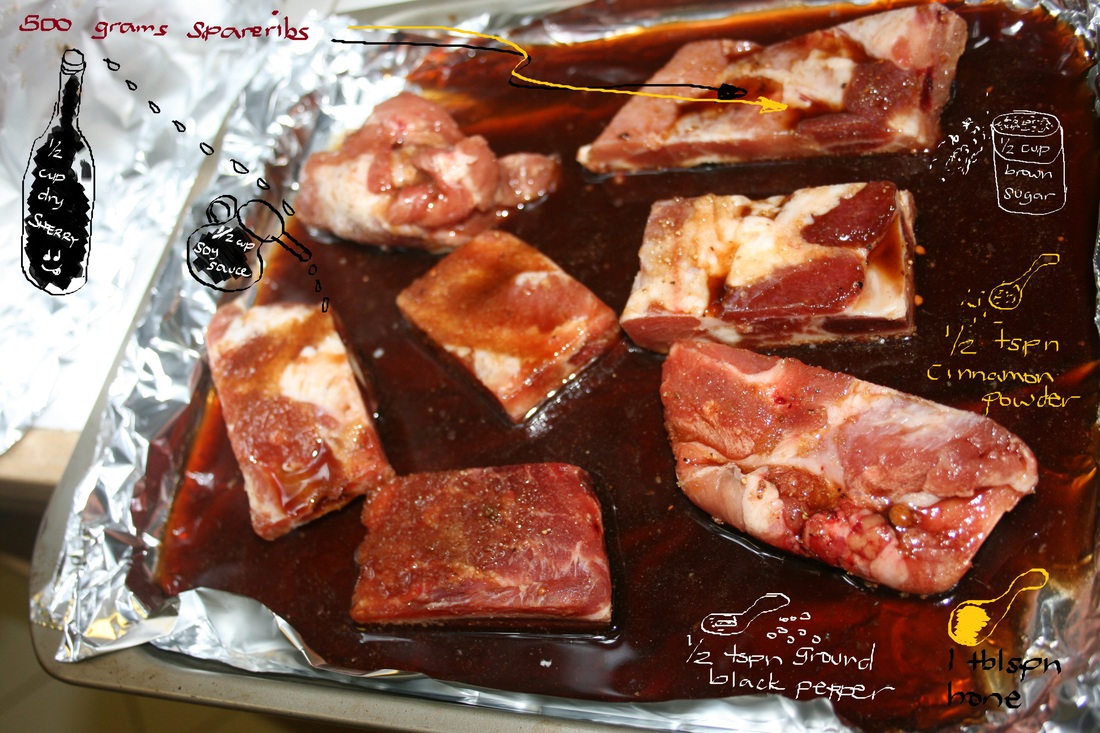
Ingredients:
3 tablespoons olive oil
6 tablespoons honey
2 tablespoons Dijon mustard
6 garlic cloves, minced
1 teaspoon dried oregano
1 teaspoon dried basil
1 teaspoon salt plus more to taste
1/2 teaspoon ground black pepper to taste
knob of butter
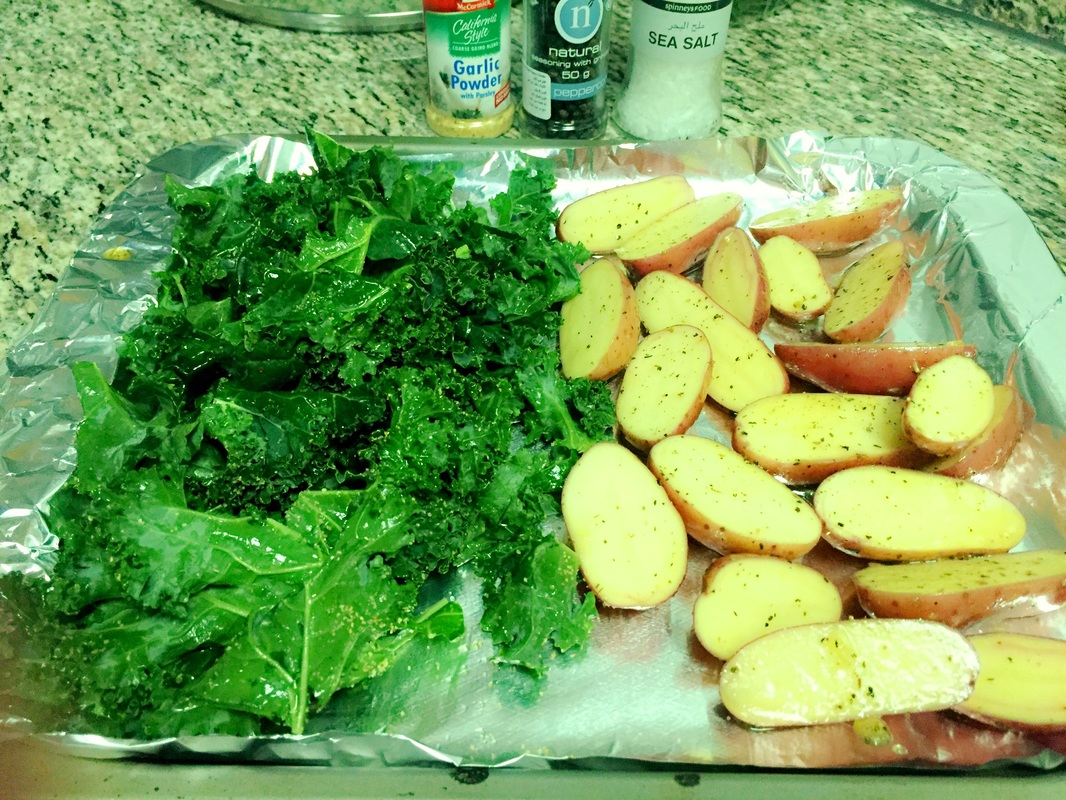
10 pcs baby potatoes, halved
4 boneless, skinless chicken breasts, pounded to even thickness
Bunch or two of kale toss in olive oil, salt and pepper
Instructions:
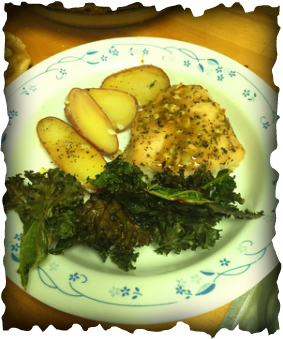
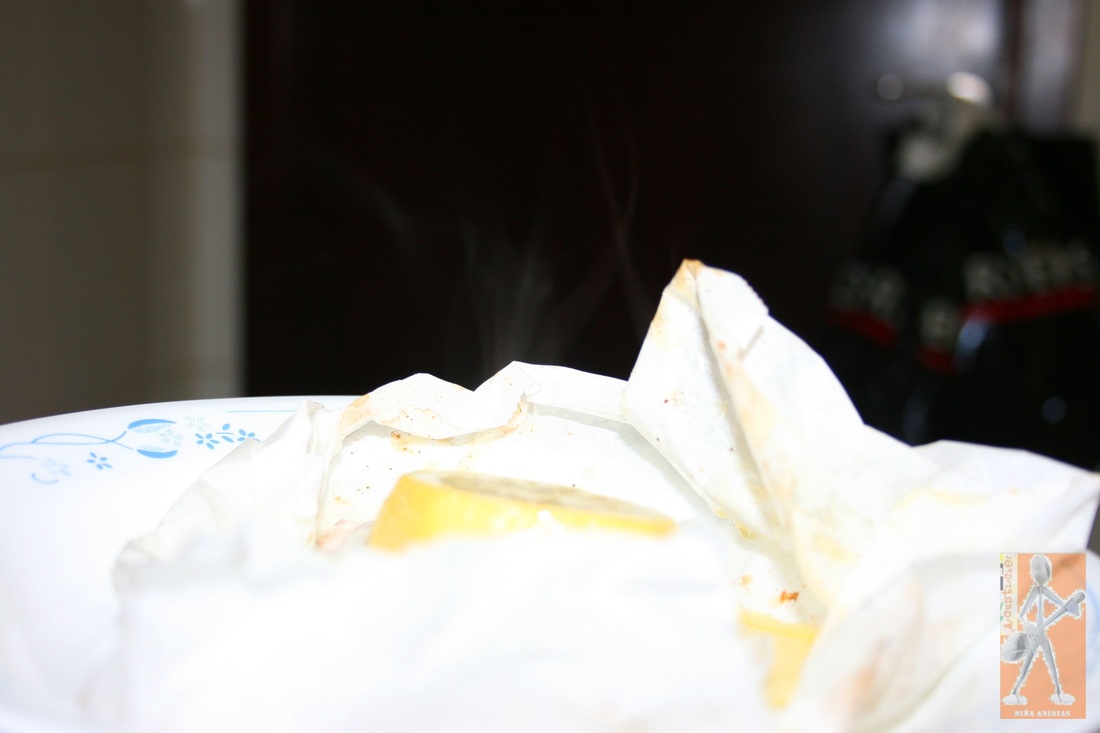
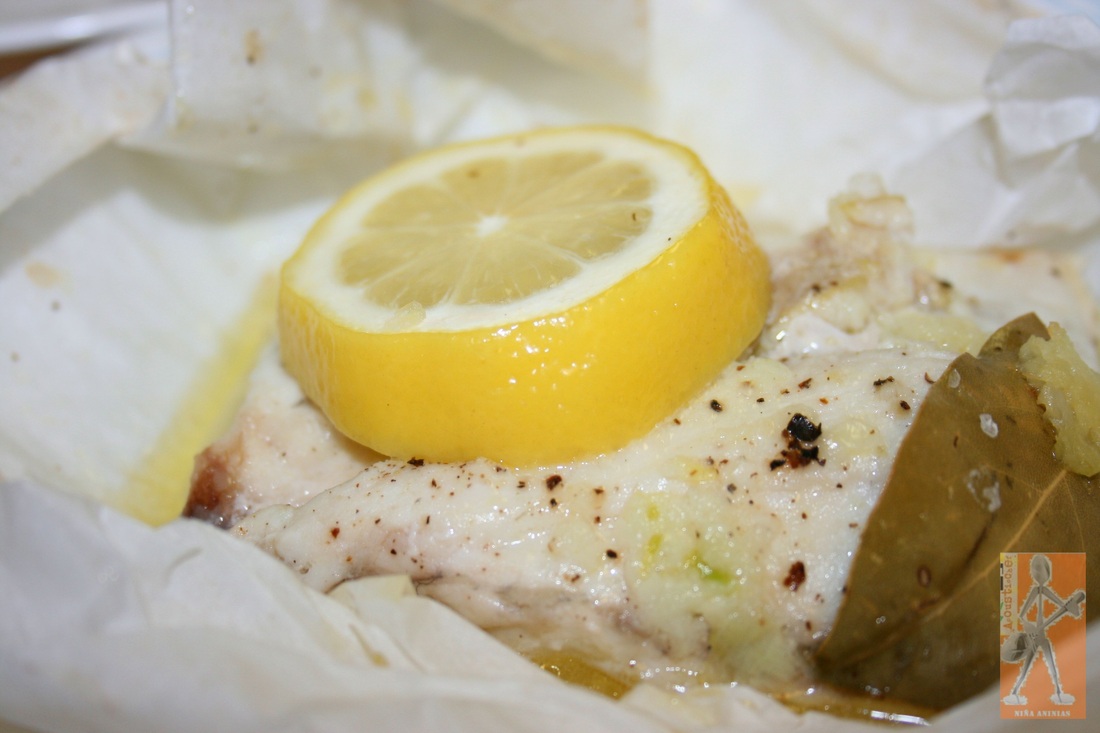
My kids love, love, love this dish. The sauce is the key. It kept the chicken moist and flavourful. Granted I took poor shots of the dish, I promise to re-create this with the buttered pan-fried potatoes next time and re-take the shots.
My boys have been asking me to make this again, make again I will :)
Happy Eating!
Tip 1: It's better to pan fry your potatoes with butter, salt and pepper. I know because I tried it and it has way better flavours.
Tip 2. You can have your kale baked until it becomes a crispy chip or you can have it stir fried. Whichever it is you prefer.
Ingredients:
3 tablespoons olive oil
6 tablespoons honey
2 tablespoons Dijon mustard
6 garlic cloves, minced
1 teaspoon dried oregano
1 teaspoon dried basil
1 teaspoon salt plus more to taste
1/2 teaspoon ground black pepper to taste
knob of butter
10 pcs baby potatoes, halved
4 boneless, skinless chicken breasts, pounded to even thickness
Bunch or two of kale toss in olive oil, salt and pepper
Instructions:
- Preheat the oven to 400F
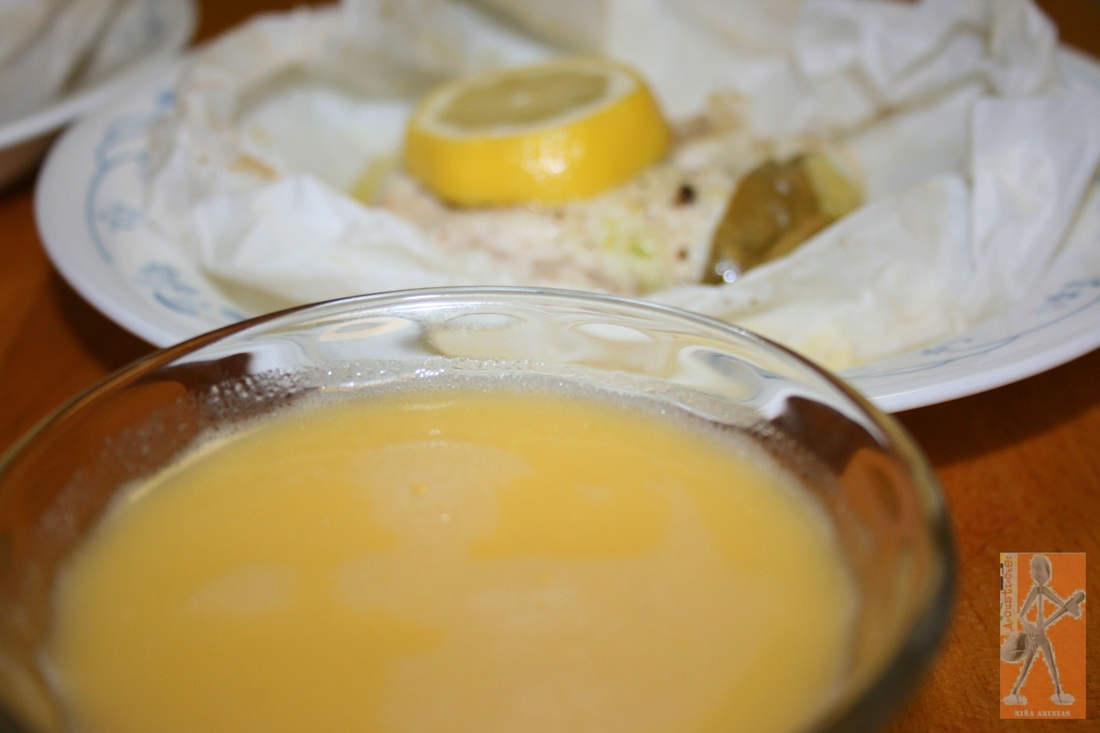
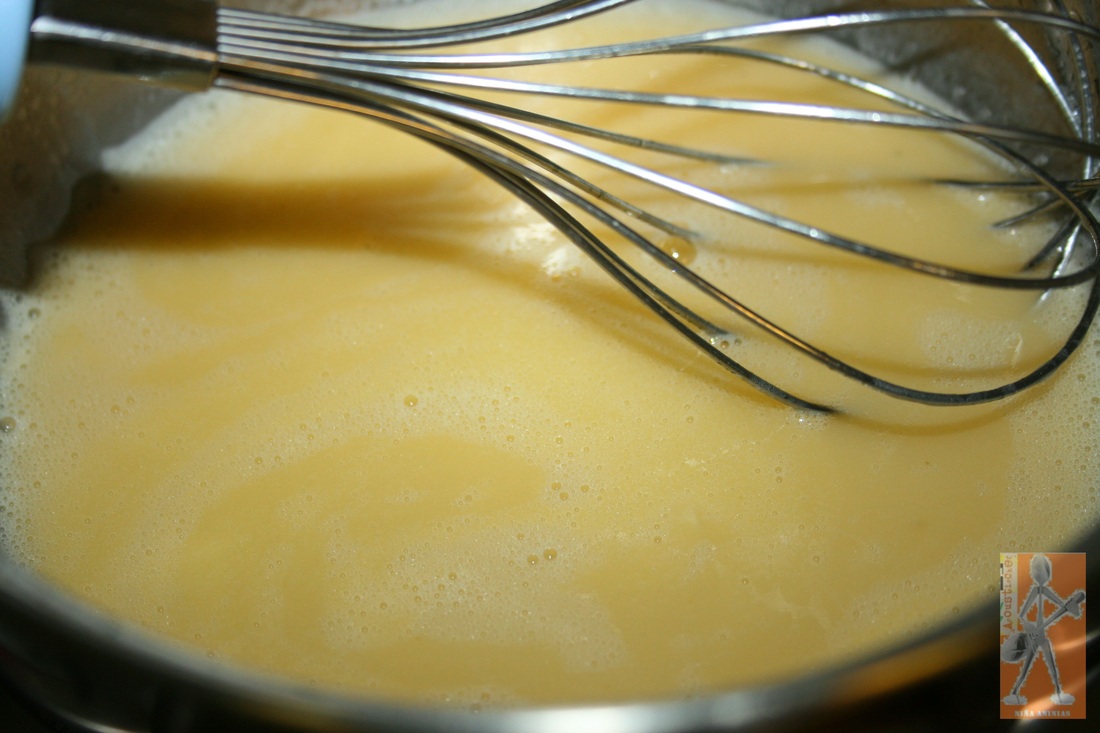
- Whisk together 2 tablespoons olive oil with honey, Dijon, garlic, oregano, basil, salt and pepper.
- Reserve 3/4 of the sauce for later.
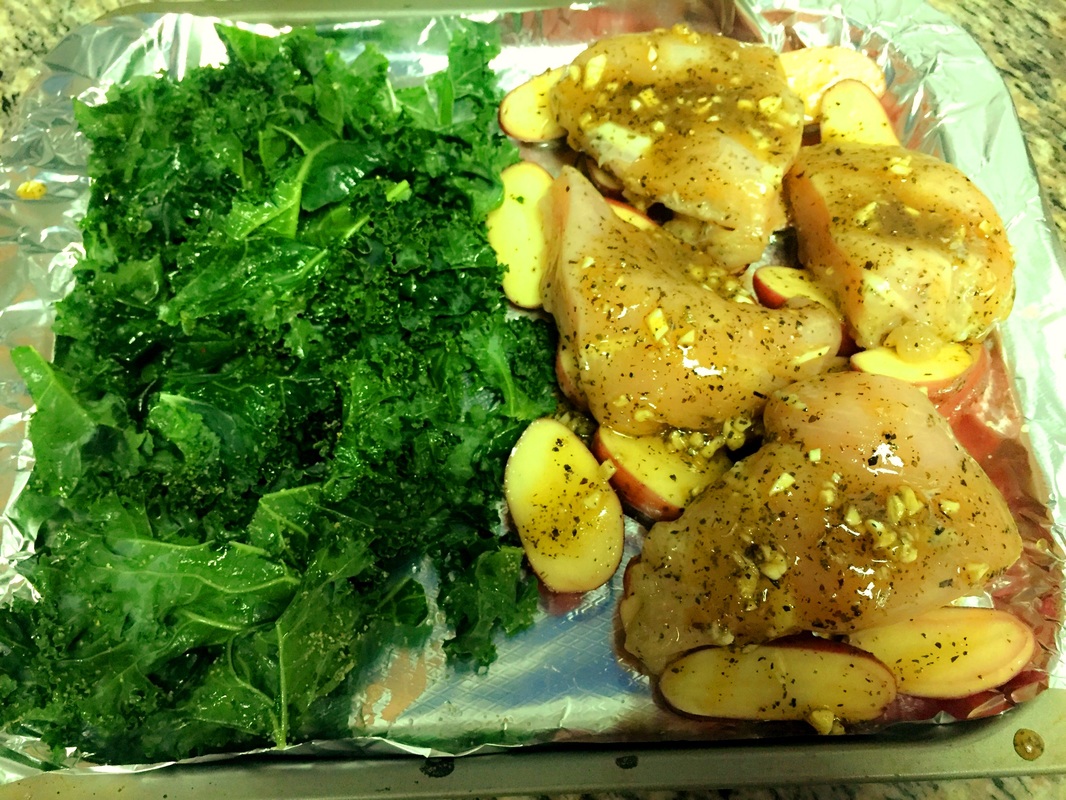
- Marinate the chicken with the remaining 1/4 sauce for an hour.
- Line the sheet pan with foil
- Spread a little sauce on half part of the foil. Lay the chicken on top of the sauce
- Generously drizzle the reserved sauce all over chicken
- Bake 20 minutes. Add the kale leaves on the other half of the pan and continue baking for another 15 minutes or until the chicken is cooked through.
- In a pan, fry potatoes in a knob of butter until brown
- Serve chicken with potatoes and kale chips
My kids love, love, love this dish. The sauce is the key. It kept the chicken moist and flavourful. Granted I took poor shots of the dish, I promise to re-create this with the buttered pan-fried potatoes next time and re-take the shots.
My boys have been asking me to make this again, make again I will :)
Happy Eating!


 RSS Feed
