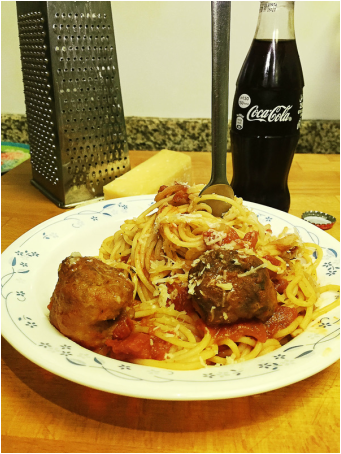
Where should I start? Meatballs, as simple as it is, it's one of those dishes that I have a love-hate relationship with.
I tried to make meatballs possibly two times and both were not good ones. Consistency was good but the seasoning part is where I always make a mistake. Unfortunately, meatballs, like burger patties, you won't really know if you did the seasoning right, until it's cooked. I guess you can still salvaged it but for avid cooks like me, that's just masking the error. At the end of the day, it still means the seasoning was not done right.
This time around, I was able to do it right, well at least half way. I tell you why it was half way. I bought a ready-to-cook Italian sausage. Just because in Dubai, Italian ground sausage somehow is not easy to find. I had to improvised. That being said, it still means I had to play around with the seasoning because the Italian sausage that I got is already seasoned and I have to mix it with an unseasoned ground beef. So it was still a success, albeit half way.
Tip 1: This is exactly how my meaty meat sauce was done, without the meat since this has meatballs
Tip 2: If you have a sauce that your family particularly like, you can just add the meatballs part to up the ante
Tip 3: Get your kiddos involved. Sure there will be funny shapes, it won't be uniform but you and they will have fun.
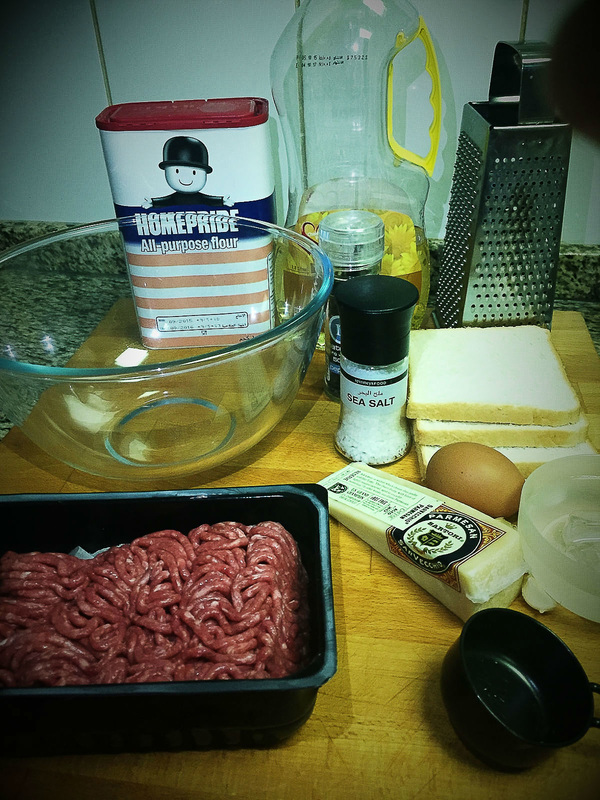
Ingredients for the meatballs:
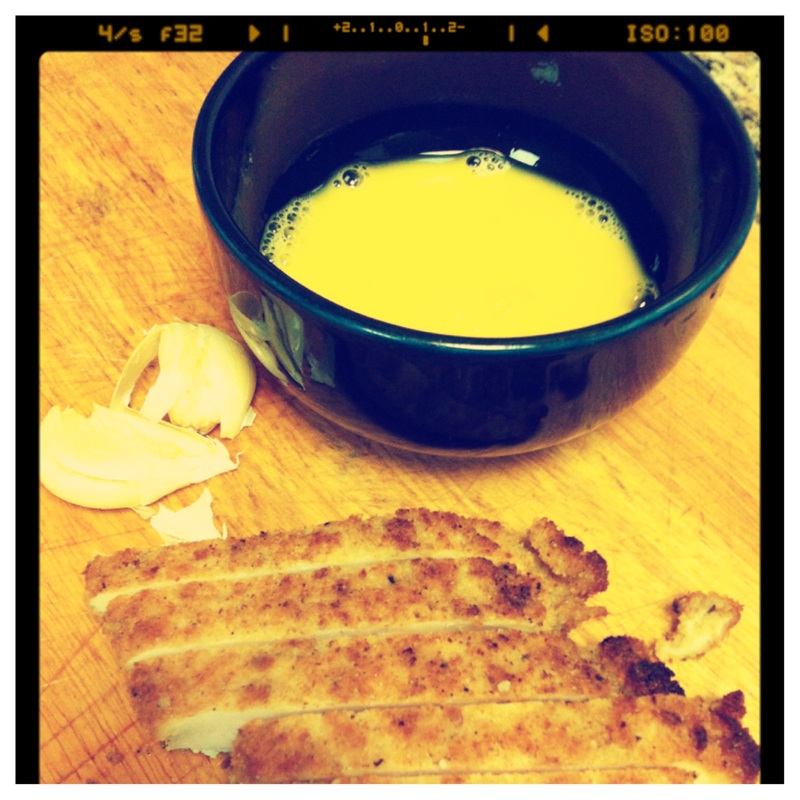
3 slices white bread, crusts removed and diced
2/3 cup cold water
1 lb ground beef
1 lb ready to cook Spicy Italian Sausage (taken out from casings)
1/4 cup grated parmegiano regiano
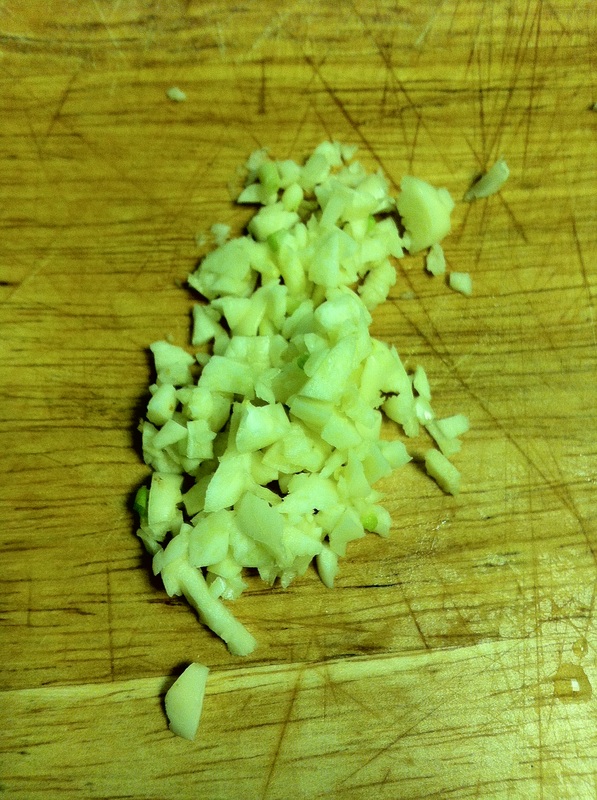
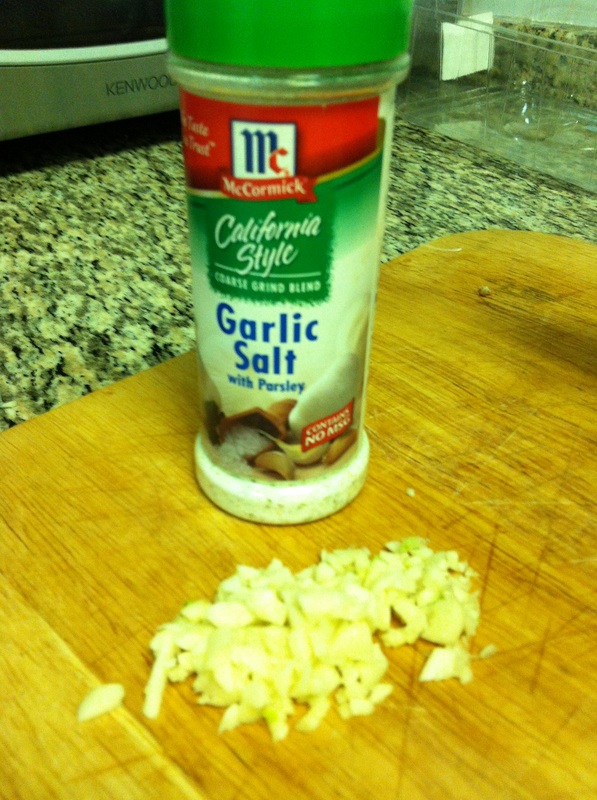
6 cloves garlic, minced finely
1 teaspoon sea salt
1/2 teaspoon black pepper
1-2 tablespoons white sugar (depending on your preference)
1 large egg
3/4 cup all-purpose flour to dredge meatballs
Light olive oil to saute
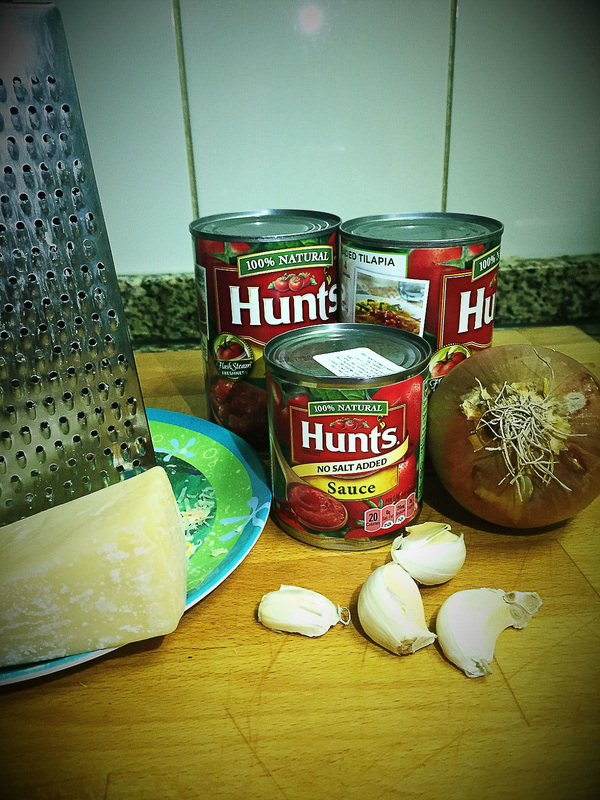
Ingredients for the sauce
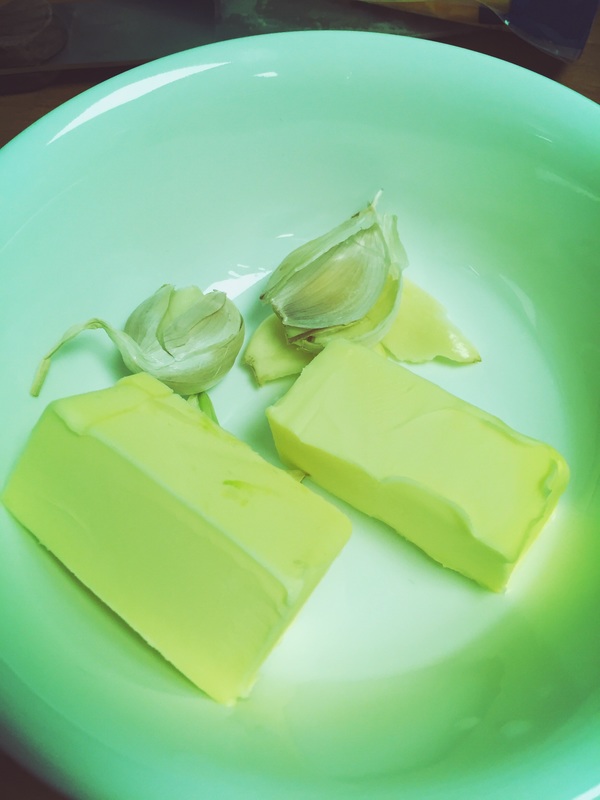
2 tbsp butter
2 tbsp cooking oil
1 large onion, diced
5 cloves garlic, minced
1 medium green capsicum, diced
2 (6-ounce) cans tomato paste
2 (8-ounce) cans tomato sauce
1 (14 1/2 ounce) can stewed tomatoes
1 tbsp Italian Seasoning (ready made or make your own)
1 tbsp Worcestershire sauce
1 tbsp sugar (to cut the acidity, especially good with young eaters, but if they are very much into the authentic Italian sauce, no need to add sugar)
1 teaspoon salt
1 cup water
Instruction for the meatballs:
1. Place bread pieces in a small bowl, add cold water and soak for at least 5 minutes then mashed with fork
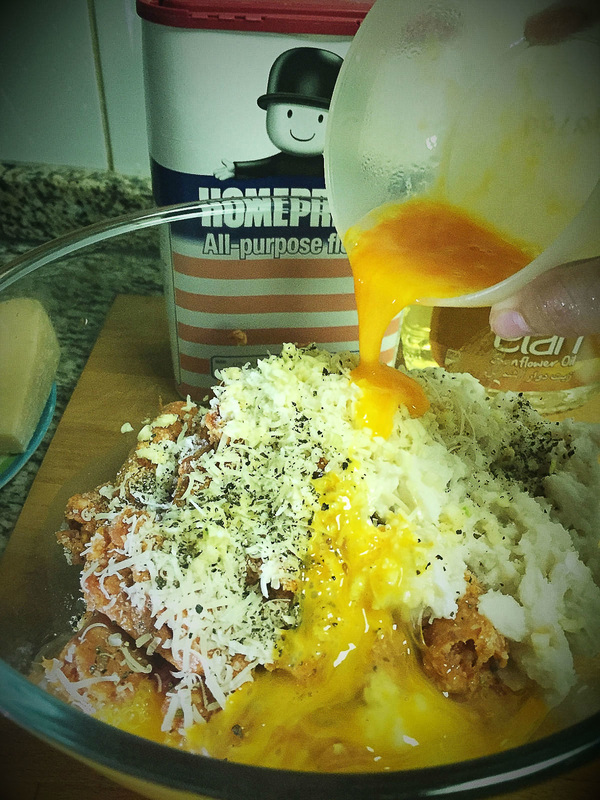
2. In large mixing bowl, add beef, pork sausage, parmegiano regiano, garlic, salt, pepper, sugar, egg and mashed bread. Mix until well combined.
3. Form into 1 inch meatballs (about half a scoop of ice cream), but if you want big meatballs, oh please go big by all means!
4. Dredge/roll meatballs in flour, dust off excess flour
5. Heat a large skillet over medium heat with 3-4 tablespoons olive oil.
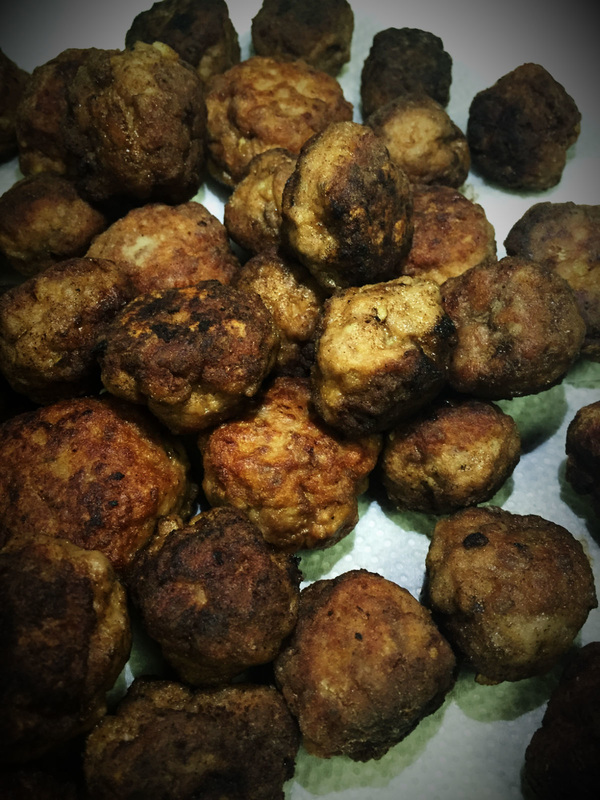
6. Add meatballs in batches without crowding the pan. Saute until brown on all sides (turn every minute). Don't worry about not cooking the them through, it will be cooked fully when it's added to the sauce.
7. Set aside
At this point, if you followed the size of my meatballs, it should actually be cooked through by this time. The one you should worry about are your kids stealing them before you are able to make the sauce.
Instruction for the sauce:
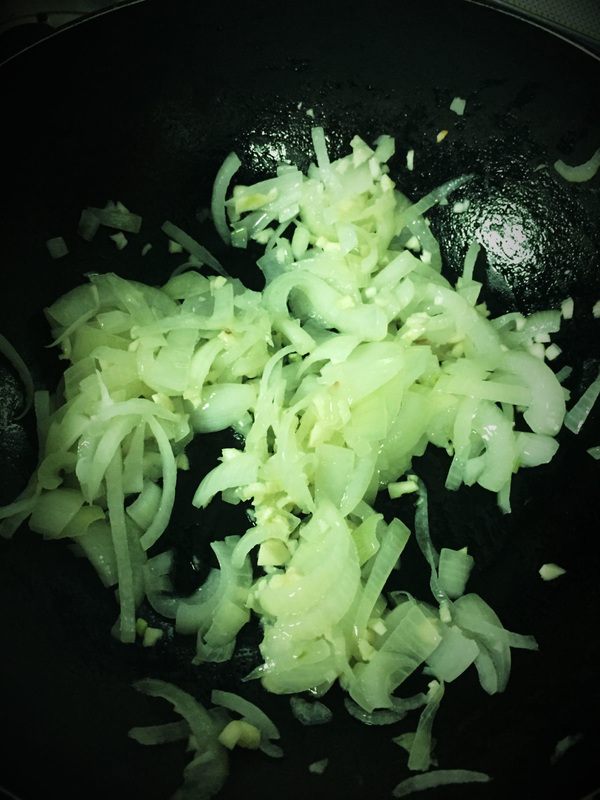
1. In the same pan, saute onion and capsicum in butter and oil, until onion is tender, about 5 minutes. Add garlic and saute 30 more seconds.
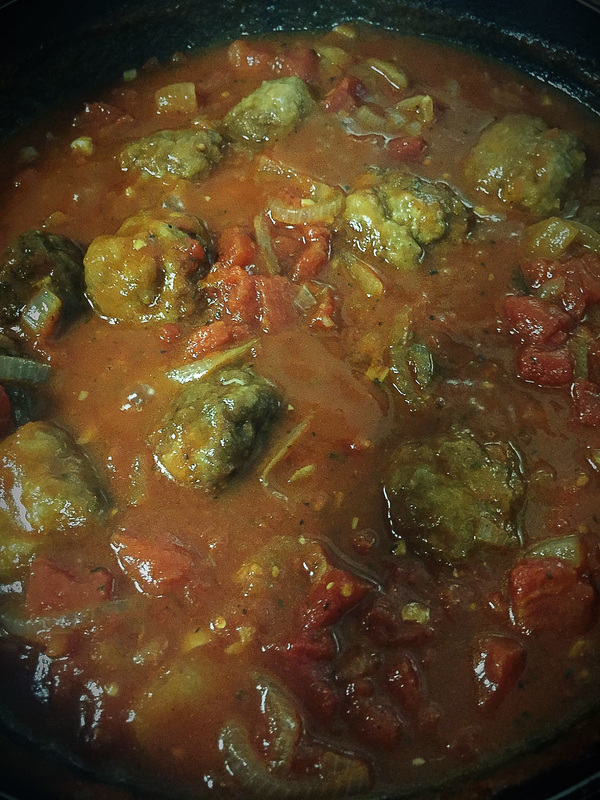
3. Add tomato paste, sauce and stewed tomatoes, seasonings and water.
4. Simmer for 15 minutes.
5. Add the meatballs
6. Simmer for another 15 minutes.
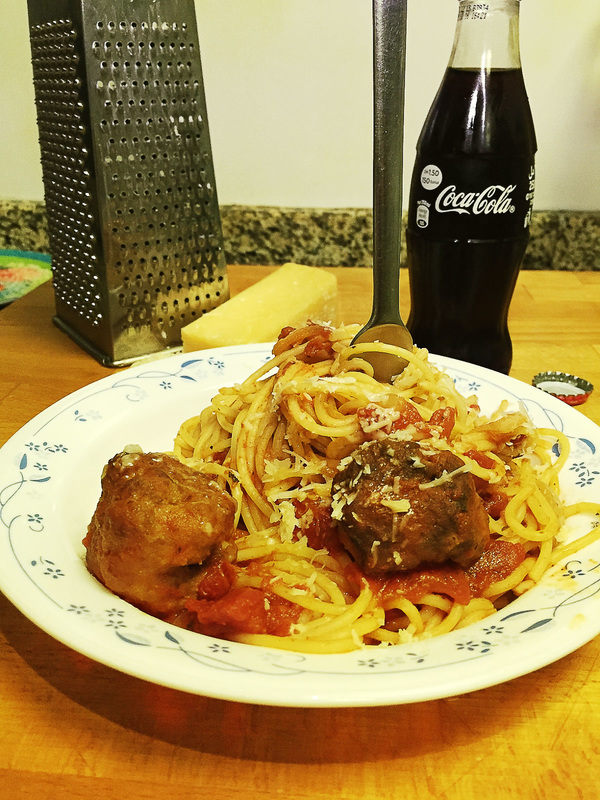
I have to confess, because I made small meatballs, I did not add them all into the sauce (thinking I will make more sauce later on). The problem with that was, my kids ate the ones not in the sauce when I went to work. Apparently, according to my nanny, they ate it with rice and were even fighting over it.
That for me is a clear translation of success.
Happy Eating!!!
I tried to make meatballs possibly two times and both were not good ones. Consistency was good but the seasoning part is where I always make a mistake. Unfortunately, meatballs, like burger patties, you won't really know if you did the seasoning right, until it's cooked. I guess you can still salvaged it but for avid cooks like me, that's just masking the error. At the end of the day, it still means the seasoning was not done right.
This time around, I was able to do it right, well at least half way. I tell you why it was half way. I bought a ready-to-cook Italian sausage. Just because in Dubai, Italian ground sausage somehow is not easy to find. I had to improvised. That being said, it still means I had to play around with the seasoning because the Italian sausage that I got is already seasoned and I have to mix it with an unseasoned ground beef. So it was still a success, albeit half way.
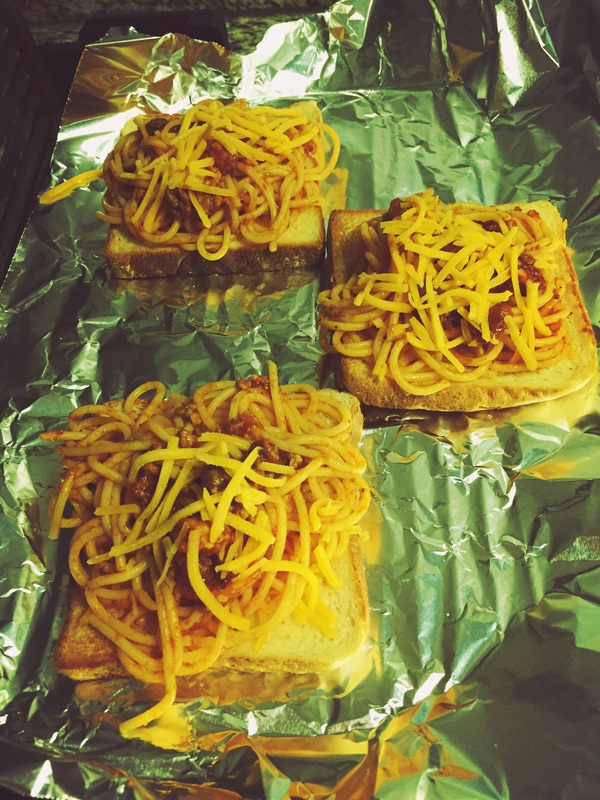
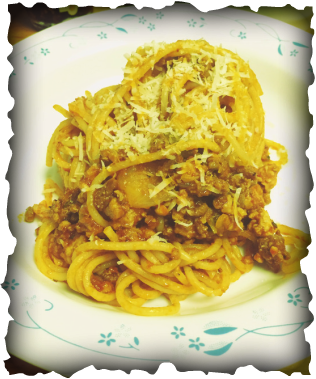
Tip 1: This is exactly how my meaty meat sauce was done, without the meat since this has meatballs
Tip 2: If you have a sauce that your family particularly like, you can just add the meatballs part to up the ante
Tip 3: Get your kiddos involved. Sure there will be funny shapes, it won't be uniform but you and they will have fun.
Ingredients for the meatballs:
3 slices white bread, crusts removed and diced
2/3 cup cold water
1 lb ground beef
1 lb ready to cook Spicy Italian Sausage (taken out from casings)
1/4 cup grated parmegiano regiano
6 cloves garlic, minced finely
1 teaspoon sea salt
1/2 teaspoon black pepper
1-2 tablespoons white sugar (depending on your preference)
1 large egg
3/4 cup all-purpose flour to dredge meatballs
Light olive oil to saute
Ingredients for the sauce
2 tbsp butter
2 tbsp cooking oil
1 large onion, diced
5 cloves garlic, minced
1 medium green capsicum, diced
2 (6-ounce) cans tomato paste
2 (8-ounce) cans tomato sauce
1 (14 1/2 ounce) can stewed tomatoes
1 tbsp Italian Seasoning (ready made or make your own)
1 tbsp Worcestershire sauce
1 tbsp sugar (to cut the acidity, especially good with young eaters, but if they are very much into the authentic Italian sauce, no need to add sugar)
1 teaspoon salt
1 cup water
Instruction for the meatballs:
1. Place bread pieces in a small bowl, add cold water and soak for at least 5 minutes then mashed with fork
2. In large mixing bowl, add beef, pork sausage, parmegiano regiano, garlic, salt, pepper, sugar, egg and mashed bread. Mix until well combined.
3. Form into 1 inch meatballs (about half a scoop of ice cream), but if you want big meatballs, oh please go big by all means!
4. Dredge/roll meatballs in flour, dust off excess flour
5. Heat a large skillet over medium heat with 3-4 tablespoons olive oil.
6. Add meatballs in batches without crowding the pan. Saute until brown on all sides (turn every minute). Don't worry about not cooking the them through, it will be cooked fully when it's added to the sauce.
7. Set aside
At this point, if you followed the size of my meatballs, it should actually be cooked through by this time. The one you should worry about are your kids stealing them before you are able to make the sauce.
Instruction for the sauce:
1. In the same pan, saute onion and capsicum in butter and oil, until onion is tender, about 5 minutes. Add garlic and saute 30 more seconds.
3. Add tomato paste, sauce and stewed tomatoes, seasonings and water.
4. Simmer for 15 minutes.
5. Add the meatballs
6. Simmer for another 15 minutes.
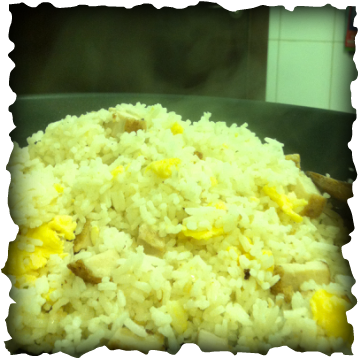
I have to confess, because I made small meatballs, I did not add them all into the sauce (thinking I will make more sauce later on). The problem with that was, my kids ate the ones not in the sauce when I went to work. Apparently, according to my nanny, they ate it with rice and were even fighting over it.
That for me is a clear translation of success.
Happy Eating!!!


 RSS Feed
