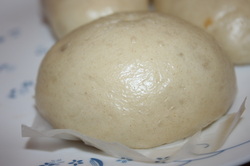
Siopao is from the Chinese influence in my country. It's pretty much the same as Hong Kong hot buns. Obviously, we have to tweak it to our palate, which is also influenced by the Spaniards, thus the name, Sio-pao Asado :)
I always love siopao and buy it whenever I have the chance. So when I heard my cousins and sis-in-law proudly made one, I got inspired to try it myself.
It wasn't easy, I did made lots of booboos but I now know where I made my mistakes.
Tip 1: Make sure the meat you use is lean (this is my booboo). First, the fat will make your mixture oily. Second, when the fat disintegrates, there will not be enough meat to soak up the sauce, hence the end result will be on the salty side (another booboo).
Tip 2: 5 cups of all purpose flour is the starting point. You must add some more until you reach the right texture. You'll know when it is no longer sticky and it holds its shape. This is important so the crimps will stay as is until you steam your siopao. This is my other booboo, I was too impatient to wait for the right texture. So, when I crimped the sides, it merged instead of holding shape. The end result of my siopao became a smooth one instead of having the twisted rydges on top.
Tip 3: You can have your meat, pork, beef or chicken... can even use shrimp (though I haven't tried shrimp yet)
Tip 4: Make sure your yeast proof properly. Warm water means blood temperature. Not too hot and not too cold. If you can't put your finger in the water, then it's too hot.
Tip 5: Rest your dough in the oven (make sure it's not on). Place a hot water in a separate bowl next to it. This will help the dough rise faster.
Ingredients:
Dough:
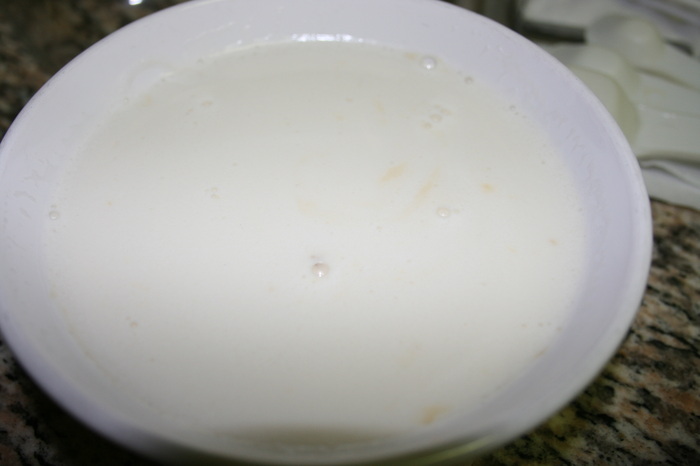
2 cups warm water
2 1/2 tbsp sugar (to be added to the yeast)
2 1/4 tsp dry yeast
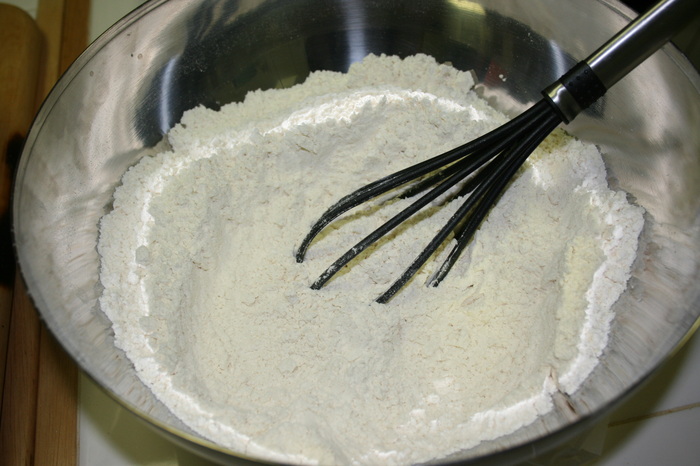
5 cups all purpose flour
1/2 cup sugar (to be added to the flour)
1 1/4 tbsp baking powder
6 tbsp lard
Filling:
910 grams meat, chopped into small pieces
3 tbsp lard
2 tbsp garlic, minced
1 large onion, minced
2 tbsp cornstarch
3 tbsp soy sauce
4 tbsp sugar
2.5 tbsp oyster sauce
1 tbsp hoisin sauce
Sauce:
1 beef broth cube
2 tbsp corn starch diluted in a 4 tblsps of cold water
1/4 cup diced onions
2 cloves diced garlic
Fresh ground black pepper
4 tbsps brown sugar
2 tbsps soy sauce
1 tbsp Worcestershire sauce
1 teaspoon salt
Filling Procedure:
Heat the shortening in a pan. Saute the garlic and onions. Add the meat and cook until the colour turns light brown.
Add the soy sauce, oyster sauce, hoisin sauce and sugar. Mix well and simmer for 30 minutes. Put in the corn starch diluted in cold water.
Continue cooking until the mixture becomes thick. Set aside to cool.
Dough Procedure:
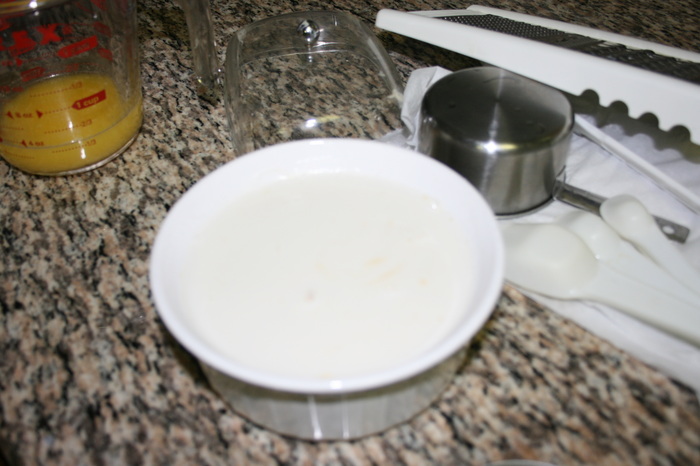
Proof your yeast by, adding yeast and sugar to your warm water in a bowl. Mix well. Rest for 10 to 15 minutes. The yeast mixture must bubble on top resembling a foam on a beer.
In another mixing bowl, put in the flour, baking powder, lard, sugar and the yeast mixture.
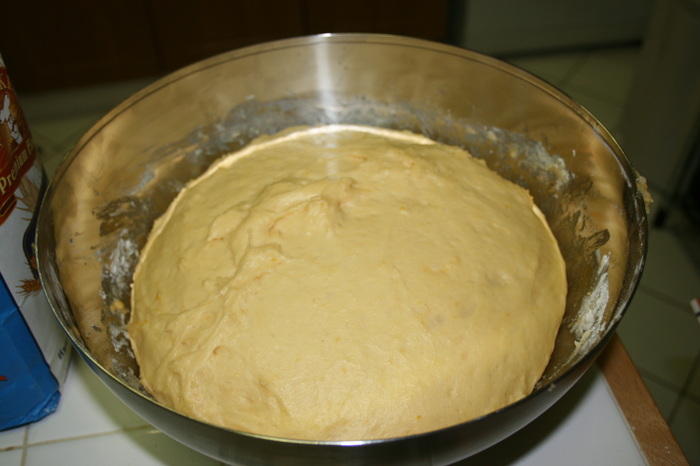
Knead the combined mixture until the texture of the dough becomes fine and less sticky. Cover your bowl with a wet towel and let it rest for at least an hour, to rise.
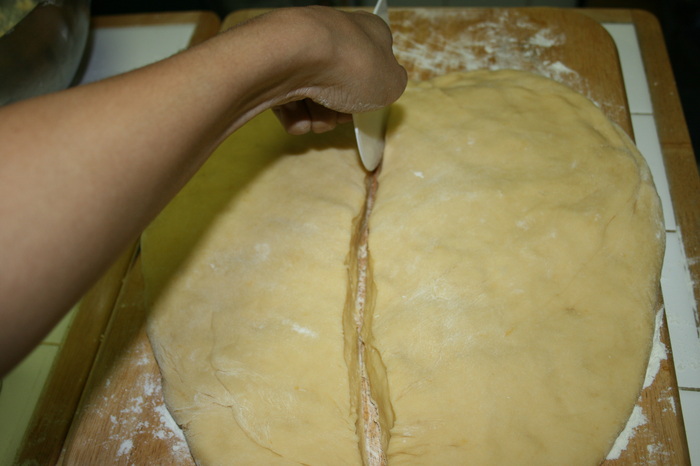
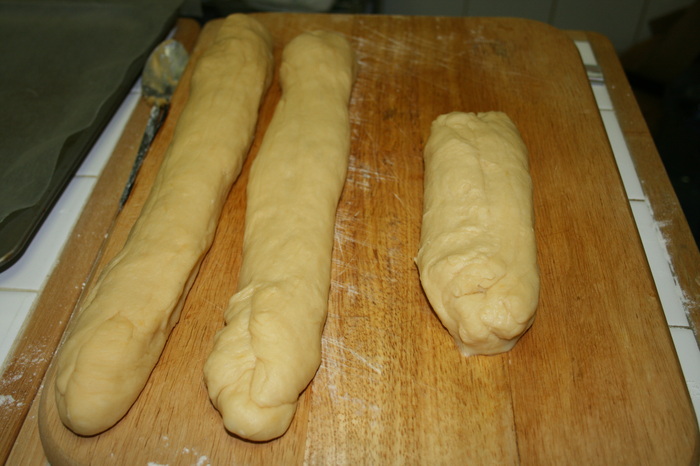
Knead the dough again then cut it into individual slices. Makes 20 individual slices.
Sauce Procedure:
Place 2 cups of water in a saucepan. Boil and add the beef cube, stir until fully dissolved.
Add onions, garlic, soy sauce, Worcestershire sauce, brown sugar, salt, ground black pepper and simmer for 10 minutes. Make sure to trap the steam by covering the saucepan. Add extra water if needed.
Add the constarch mixture, cook and stir until sauce becomes thick. Strain the liquid to get rid of the onion and other bits.
Transfer your sauce to a serving container.
Assemble and cook your Siopao:
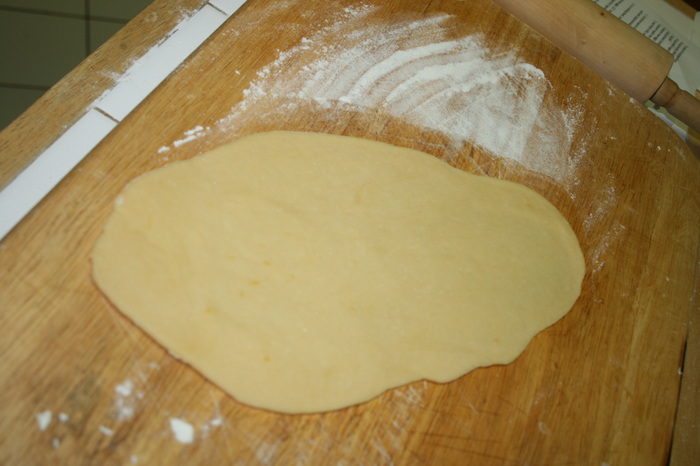
Flatten the dough until a round shape is formed, first with your hand, then with a rolling pin.
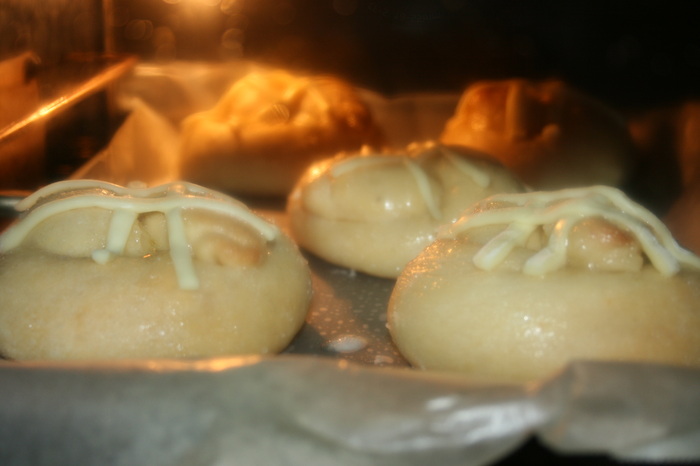
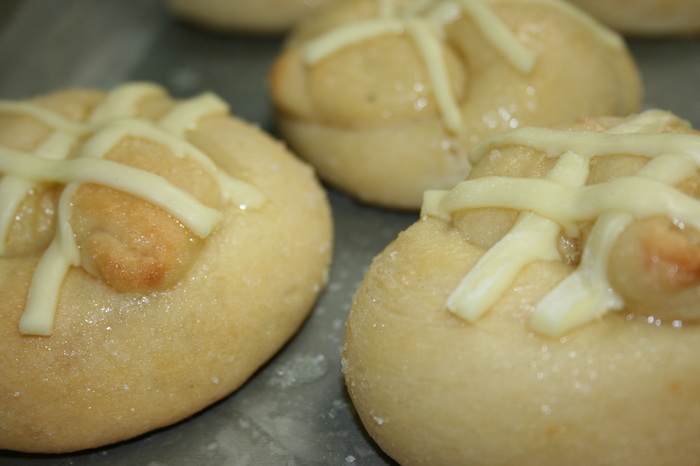
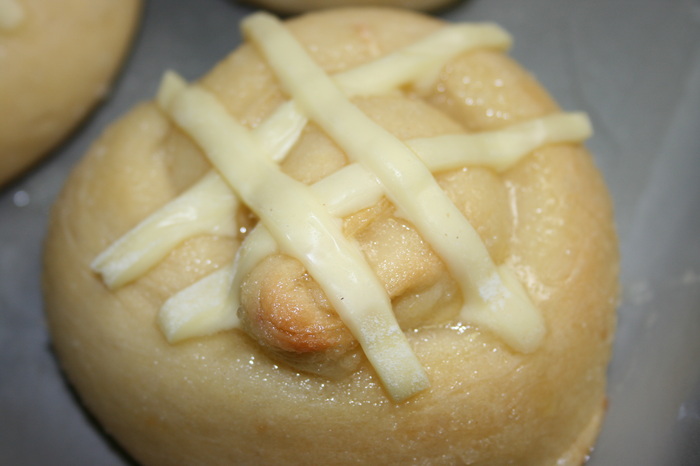
Put the asado filling in the middle of the dough and wrap by pulling and crimping the sides together. Gather on top and twist it around.
Place the siopao on individually cut wax paper and cook them in a steamer for 15 minutes.
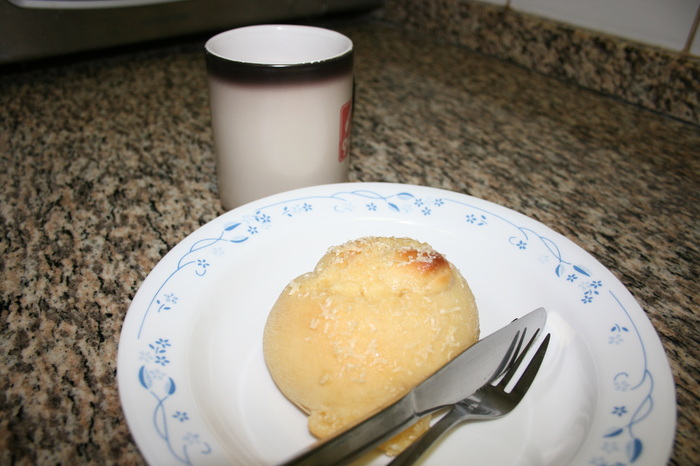
Serve hot with your home made sauce and enjoy!
I always love siopao and buy it whenever I have the chance. So when I heard my cousins and sis-in-law proudly made one, I got inspired to try it myself.
It wasn't easy, I did made lots of booboos but I now know where I made my mistakes.
Tip 1: Make sure the meat you use is lean (this is my booboo). First, the fat will make your mixture oily. Second, when the fat disintegrates, there will not be enough meat to soak up the sauce, hence the end result will be on the salty side (another booboo).
Tip 2: 5 cups of all purpose flour is the starting point. You must add some more until you reach the right texture. You'll know when it is no longer sticky and it holds its shape. This is important so the crimps will stay as is until you steam your siopao. This is my other booboo, I was too impatient to wait for the right texture. So, when I crimped the sides, it merged instead of holding shape. The end result of my siopao became a smooth one instead of having the twisted rydges on top.
Tip 3: You can have your meat, pork, beef or chicken... can even use shrimp (though I haven't tried shrimp yet)
Tip 4: Make sure your yeast proof properly. Warm water means blood temperature. Not too hot and not too cold. If you can't put your finger in the water, then it's too hot.
Tip 5: Rest your dough in the oven (make sure it's not on). Place a hot water in a separate bowl next to it. This will help the dough rise faster.
Ingredients:
Dough:
2 cups warm water
2 1/2 tbsp sugar (to be added to the yeast)
2 1/4 tsp dry yeast
5 cups all purpose flour
1/2 cup sugar (to be added to the flour)
1 1/4 tbsp baking powder
6 tbsp lard
Filling:
910 grams meat, chopped into small pieces
3 tbsp lard
2 tbsp garlic, minced
1 large onion, minced
2 tbsp cornstarch
3 tbsp soy sauce
4 tbsp sugar
2.5 tbsp oyster sauce
1 tbsp hoisin sauce
Sauce:
1 beef broth cube
2 tbsp corn starch diluted in a 4 tblsps of cold water
1/4 cup diced onions
2 cloves diced garlic
Fresh ground black pepper
4 tbsps brown sugar
2 tbsps soy sauce
1 tbsp Worcestershire sauce
1 teaspoon salt
Filling Procedure:
Heat the shortening in a pan. Saute the garlic and onions. Add the meat and cook until the colour turns light brown.
Add the soy sauce, oyster sauce, hoisin sauce and sugar. Mix well and simmer for 30 minutes. Put in the corn starch diluted in cold water.
Continue cooking until the mixture becomes thick. Set aside to cool.
Dough Procedure:
Proof your yeast by, adding yeast and sugar to your warm water in a bowl. Mix well. Rest for 10 to 15 minutes. The yeast mixture must bubble on top resembling a foam on a beer.
In another mixing bowl, put in the flour, baking powder, lard, sugar and the yeast mixture.
Knead the combined mixture until the texture of the dough becomes fine and less sticky. Cover your bowl with a wet towel and let it rest for at least an hour, to rise.
Knead the dough again then cut it into individual slices. Makes 20 individual slices.
Sauce Procedure:
Place 2 cups of water in a saucepan. Boil and add the beef cube, stir until fully dissolved.
Add onions, garlic, soy sauce, Worcestershire sauce, brown sugar, salt, ground black pepper and simmer for 10 minutes. Make sure to trap the steam by covering the saucepan. Add extra water if needed.
Add the constarch mixture, cook and stir until sauce becomes thick. Strain the liquid to get rid of the onion and other bits.
Transfer your sauce to a serving container.
Assemble and cook your Siopao:
Flatten the dough until a round shape is formed, first with your hand, then with a rolling pin.
Put the asado filling in the middle of the dough and wrap by pulling and crimping the sides together. Gather on top and twist it around.
Place the siopao on individually cut wax paper and cook them in a steamer for 15 minutes.
Serve hot with your home made sauce and enjoy!


 RSS Feed
